Tunnelling
In order to activate tunneling you must add your main domain to the Cloudflare first. Refer to the tutorial.
If you have the process already, you can continue.
- Goto Cloudflare dashboard
- Choose Network→Tunnels on the left menu.
- Hit Create
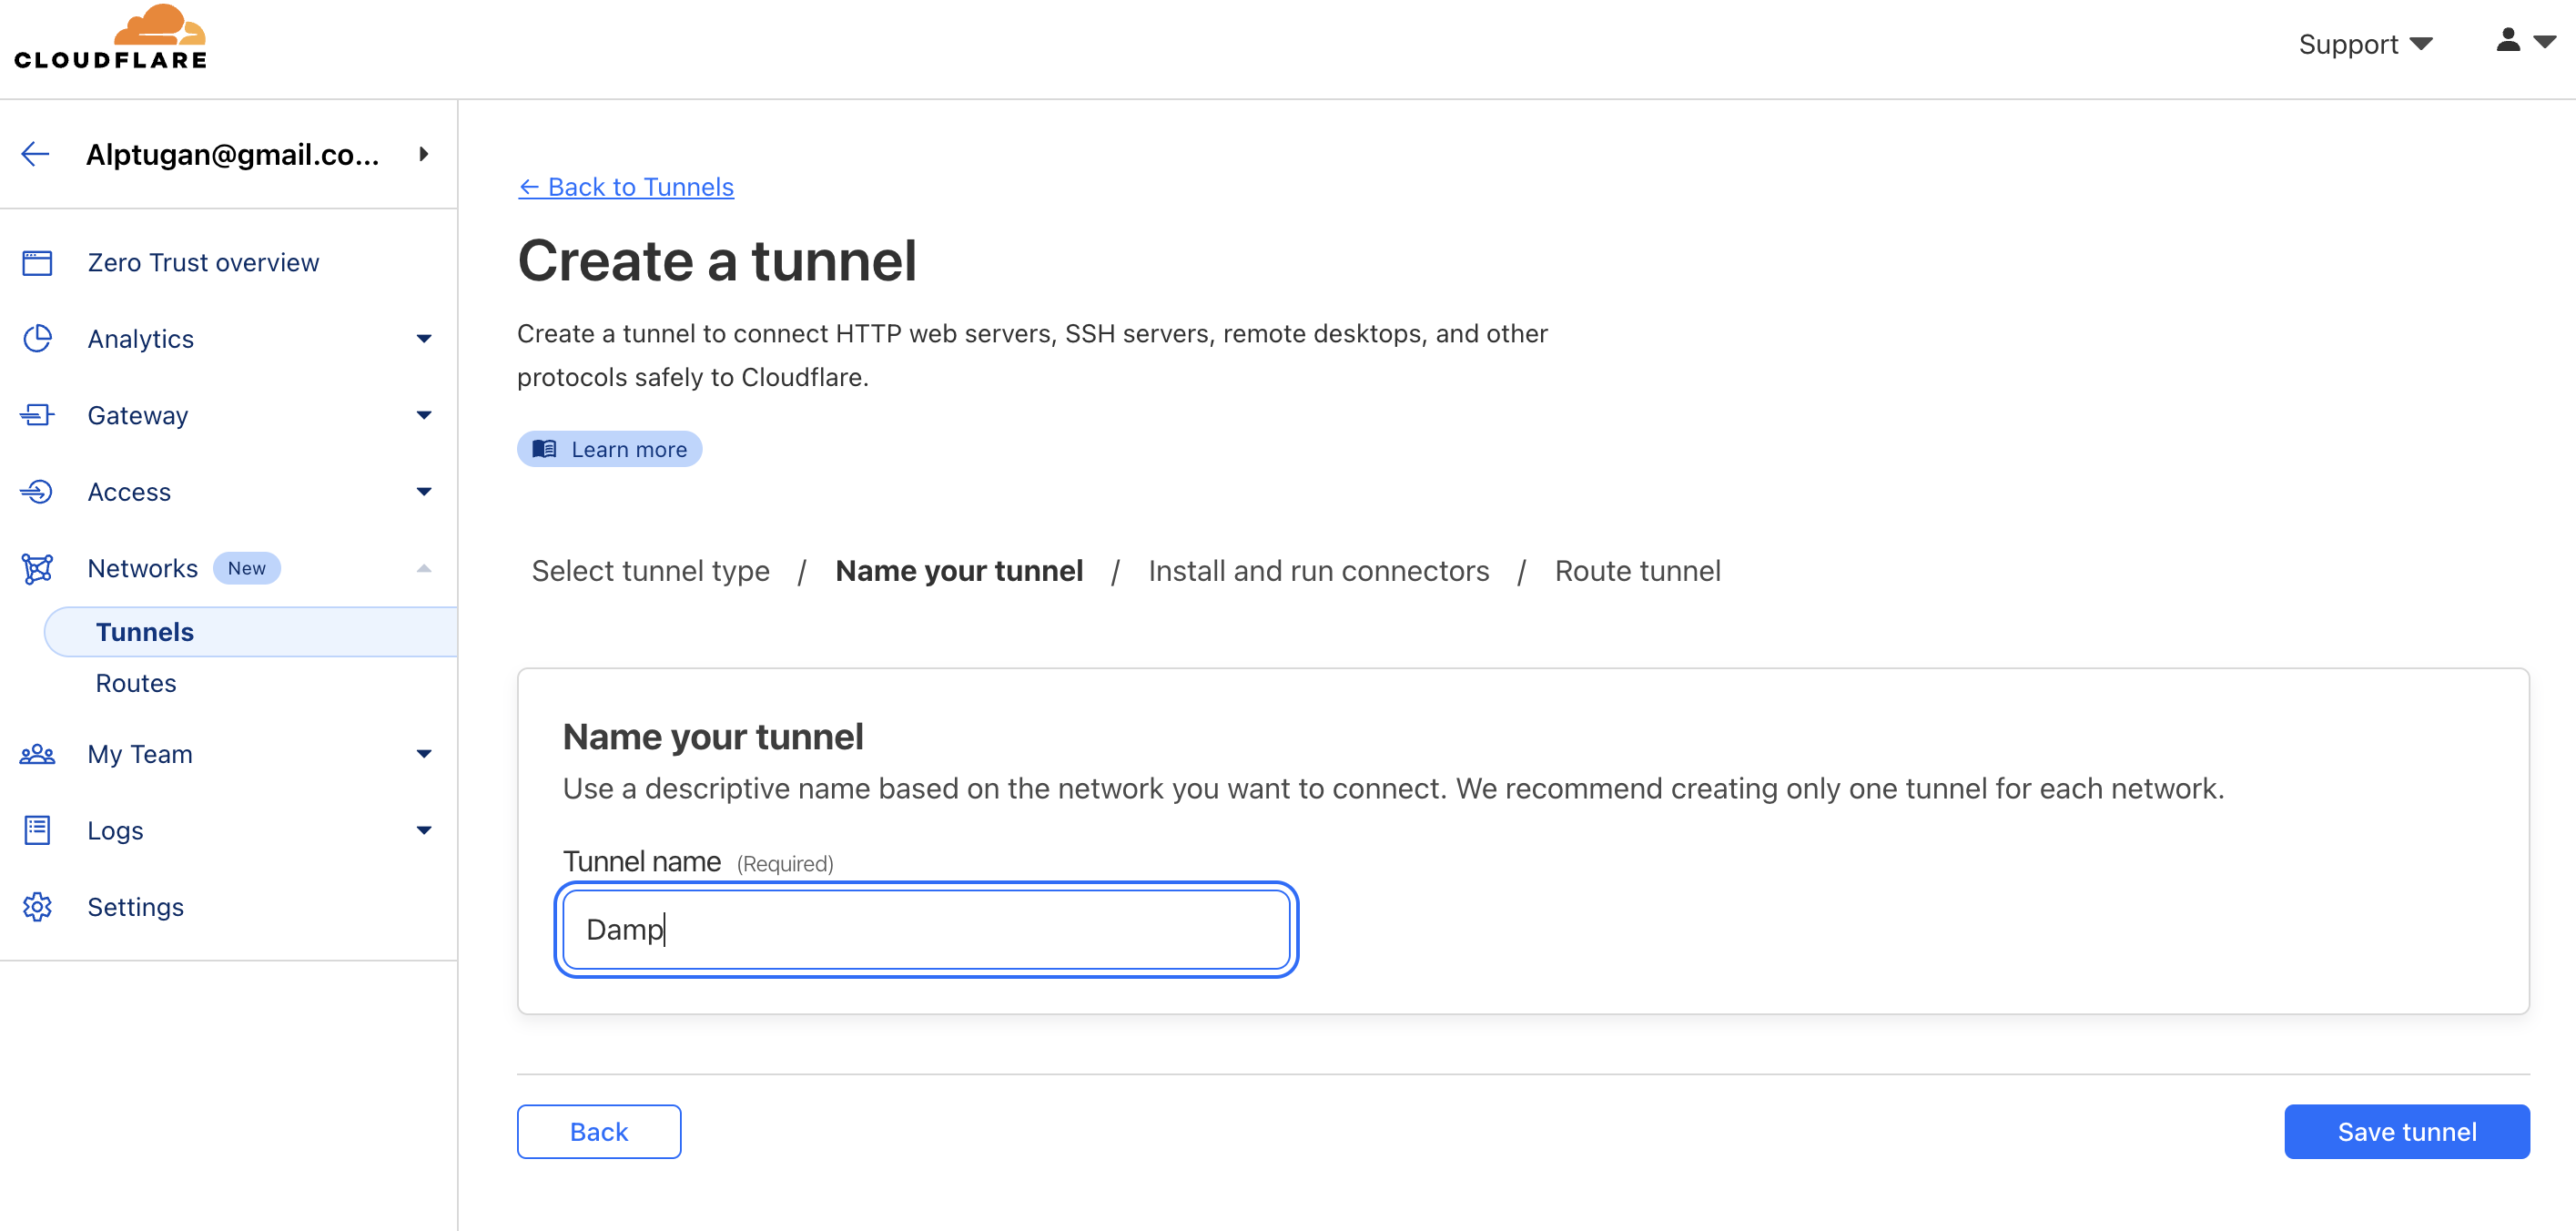
- Give a name of your choice and Save tunnel

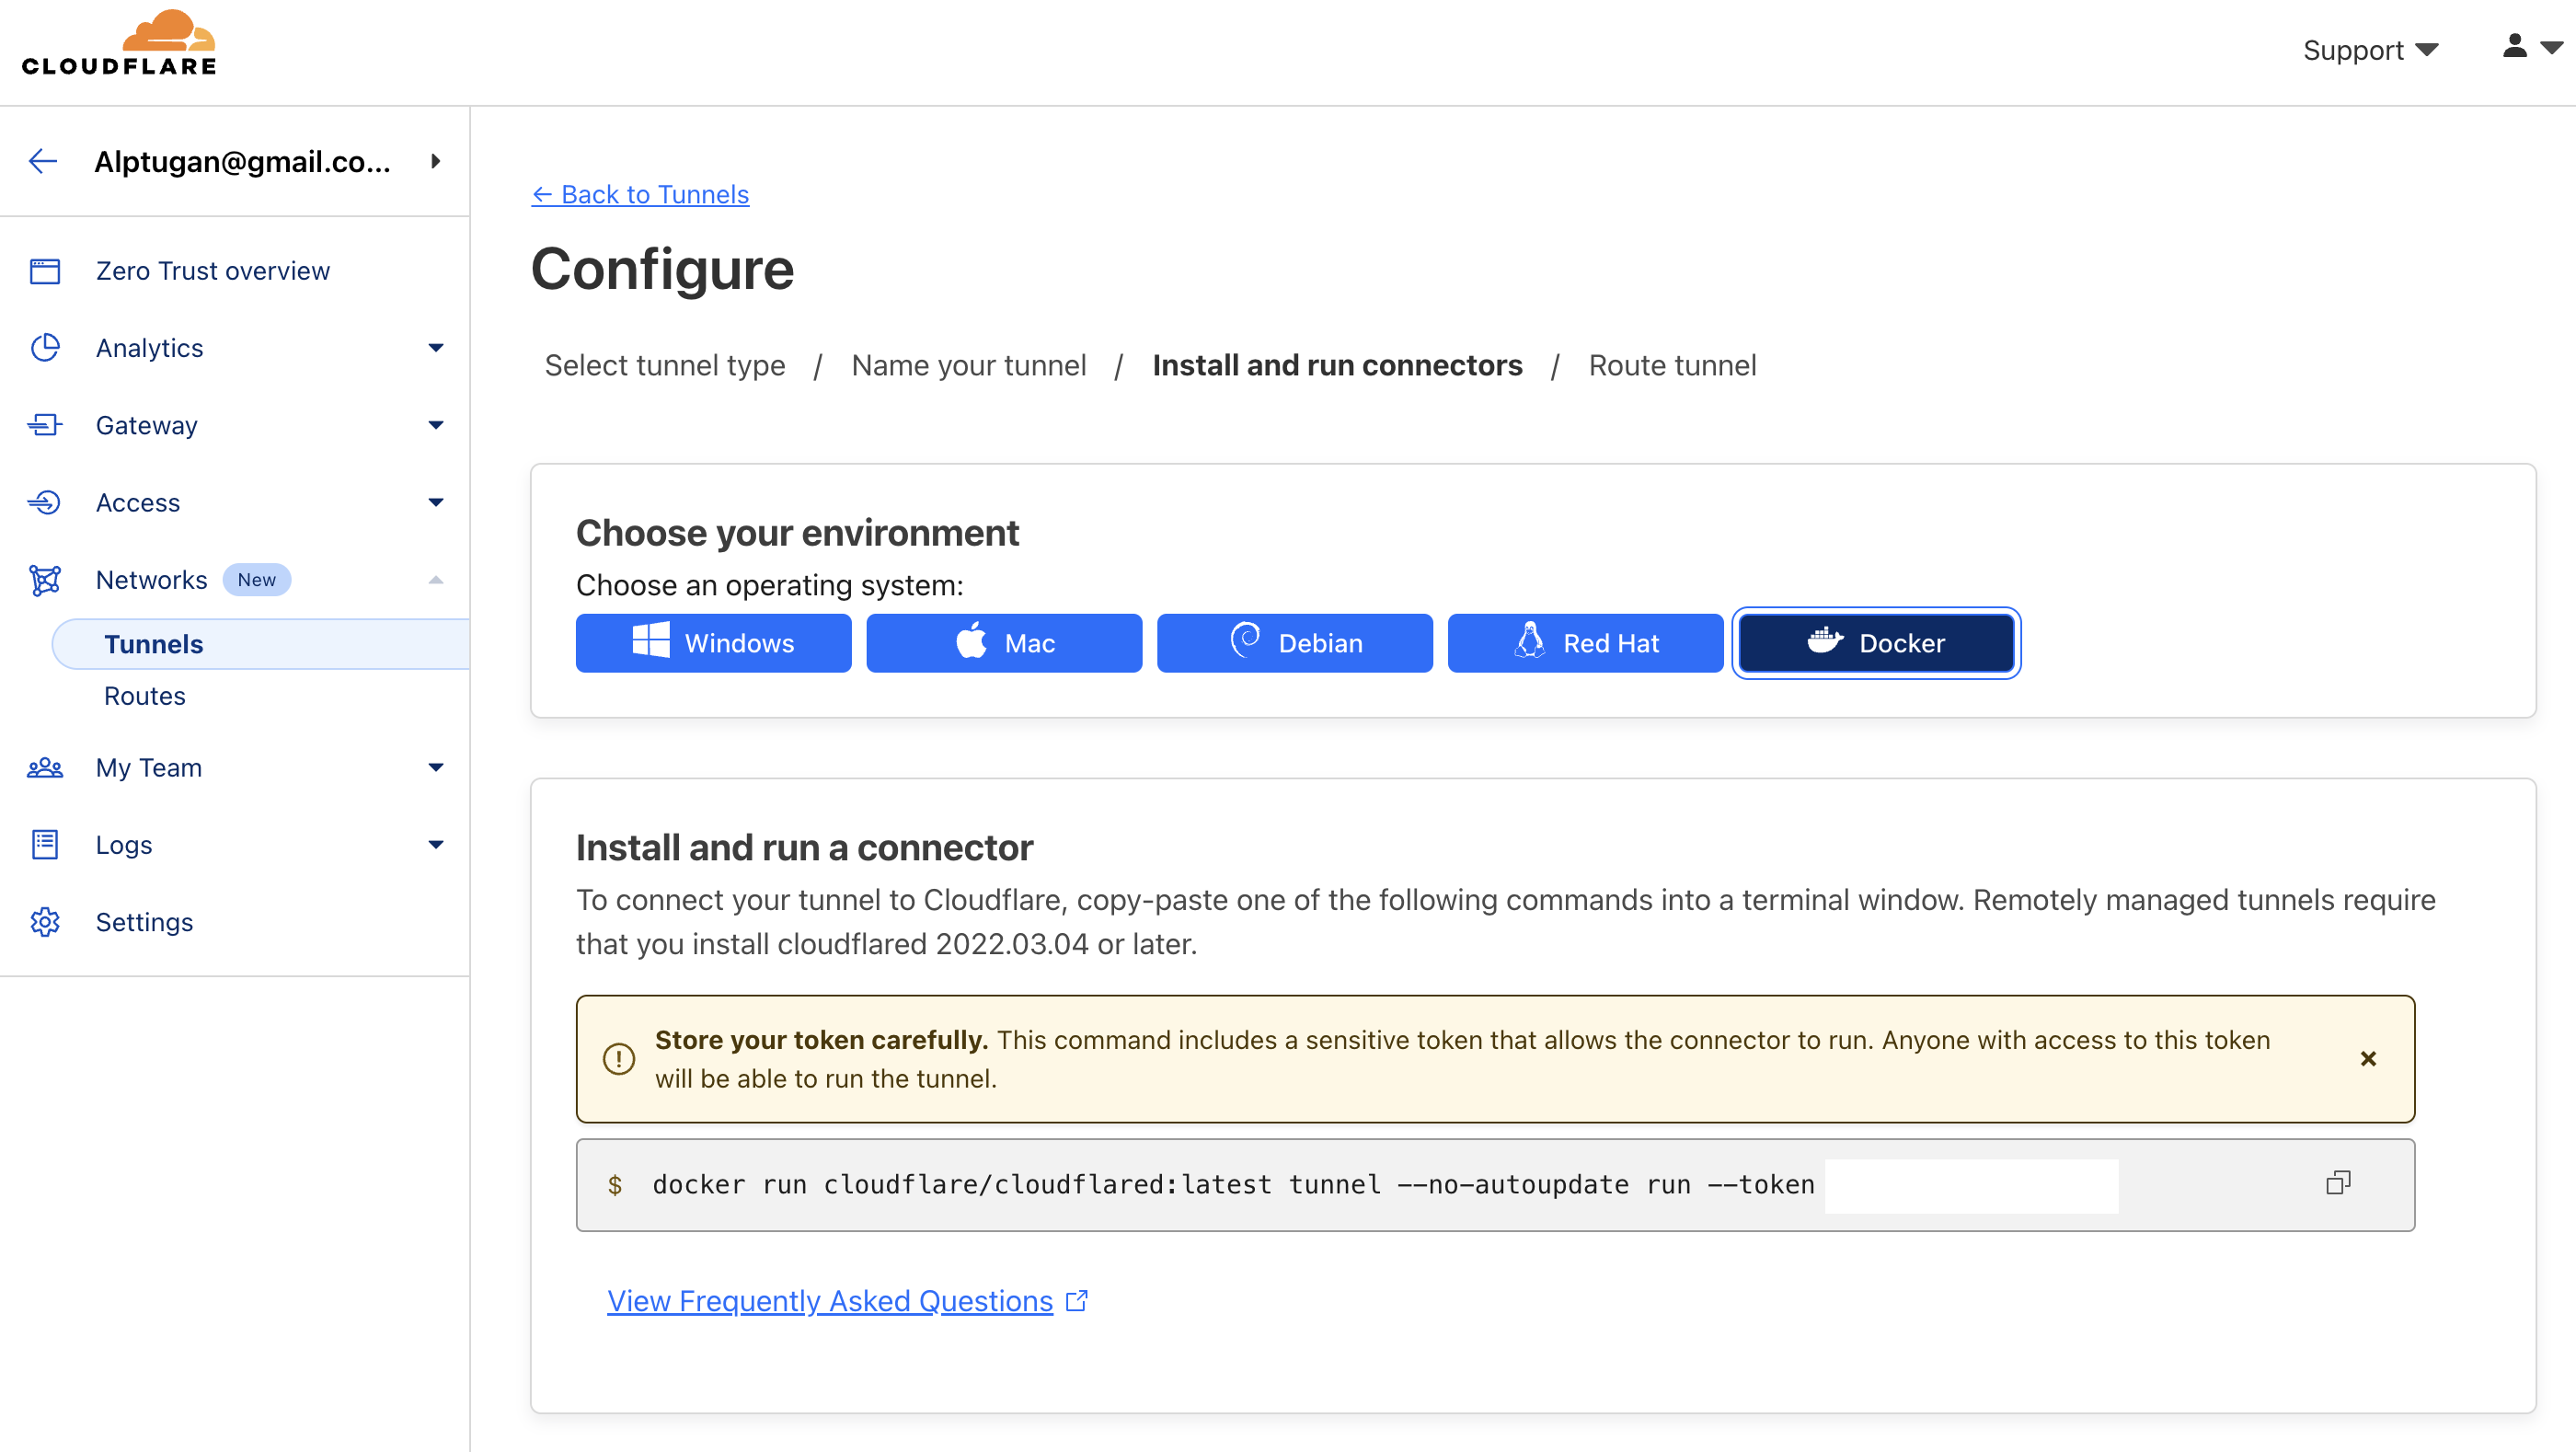
- Choose your environment. For our case, since we are on CasaOS, we will setup using Docker.

- Copy the generated command to a safe place. Log-in to your server machine via ssh. You can use casaOS built-in Terminal.
- Paste the code you saved in the previous step, edit as follows and run.
docker run -d --restart always cloudflare/cloudflared:latest tunnel run --token <your_unique_token>
- Goto the Cloudflare dashboard and check if you see the following connection information. If the Cloudflare displays healthy for the connection, then you are good to go.
Create Free DNS on Cloudns
Follow the instruction on the blog post Tutorial - ClouDNS Free Domain Registration to create your own domain name.
Register Cloudns hostname on Cloudflare
Follow the instructions on the blog post Tutorial - Cloudflare Domain Register showing how to register your domain on Cloudflare. Additionally, check the great video for full walk-through.
Since there are no records on the cloudDNS domain name, Cloudflare doesn’t display any information other than NS (Name Server) records. We need to configure clouDNS NS records with the ones Cloudflare provided for us.
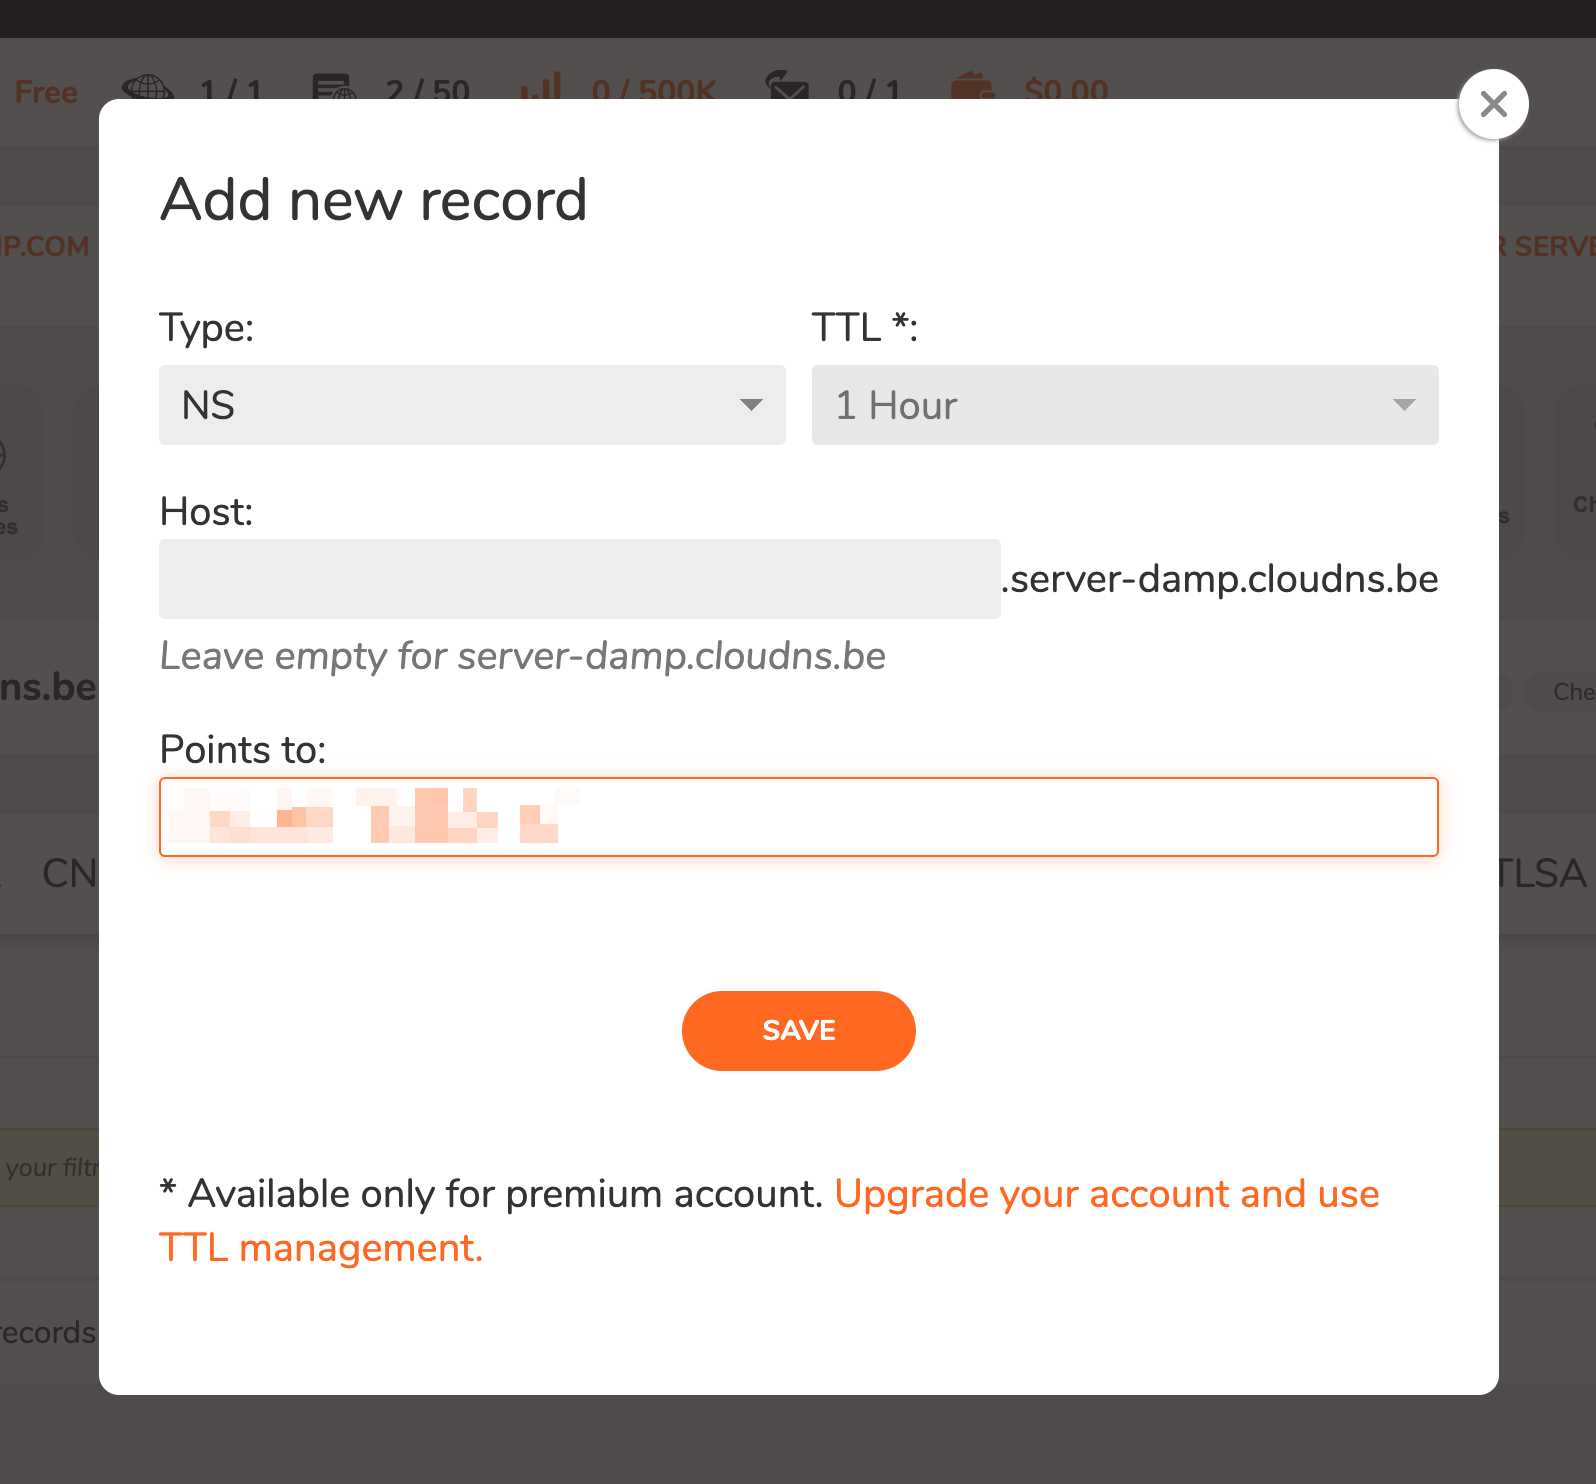
Delete all the clouDNS NS records and add two NS address provided by Cloudflare.

Then add the Cloudflare NS records.

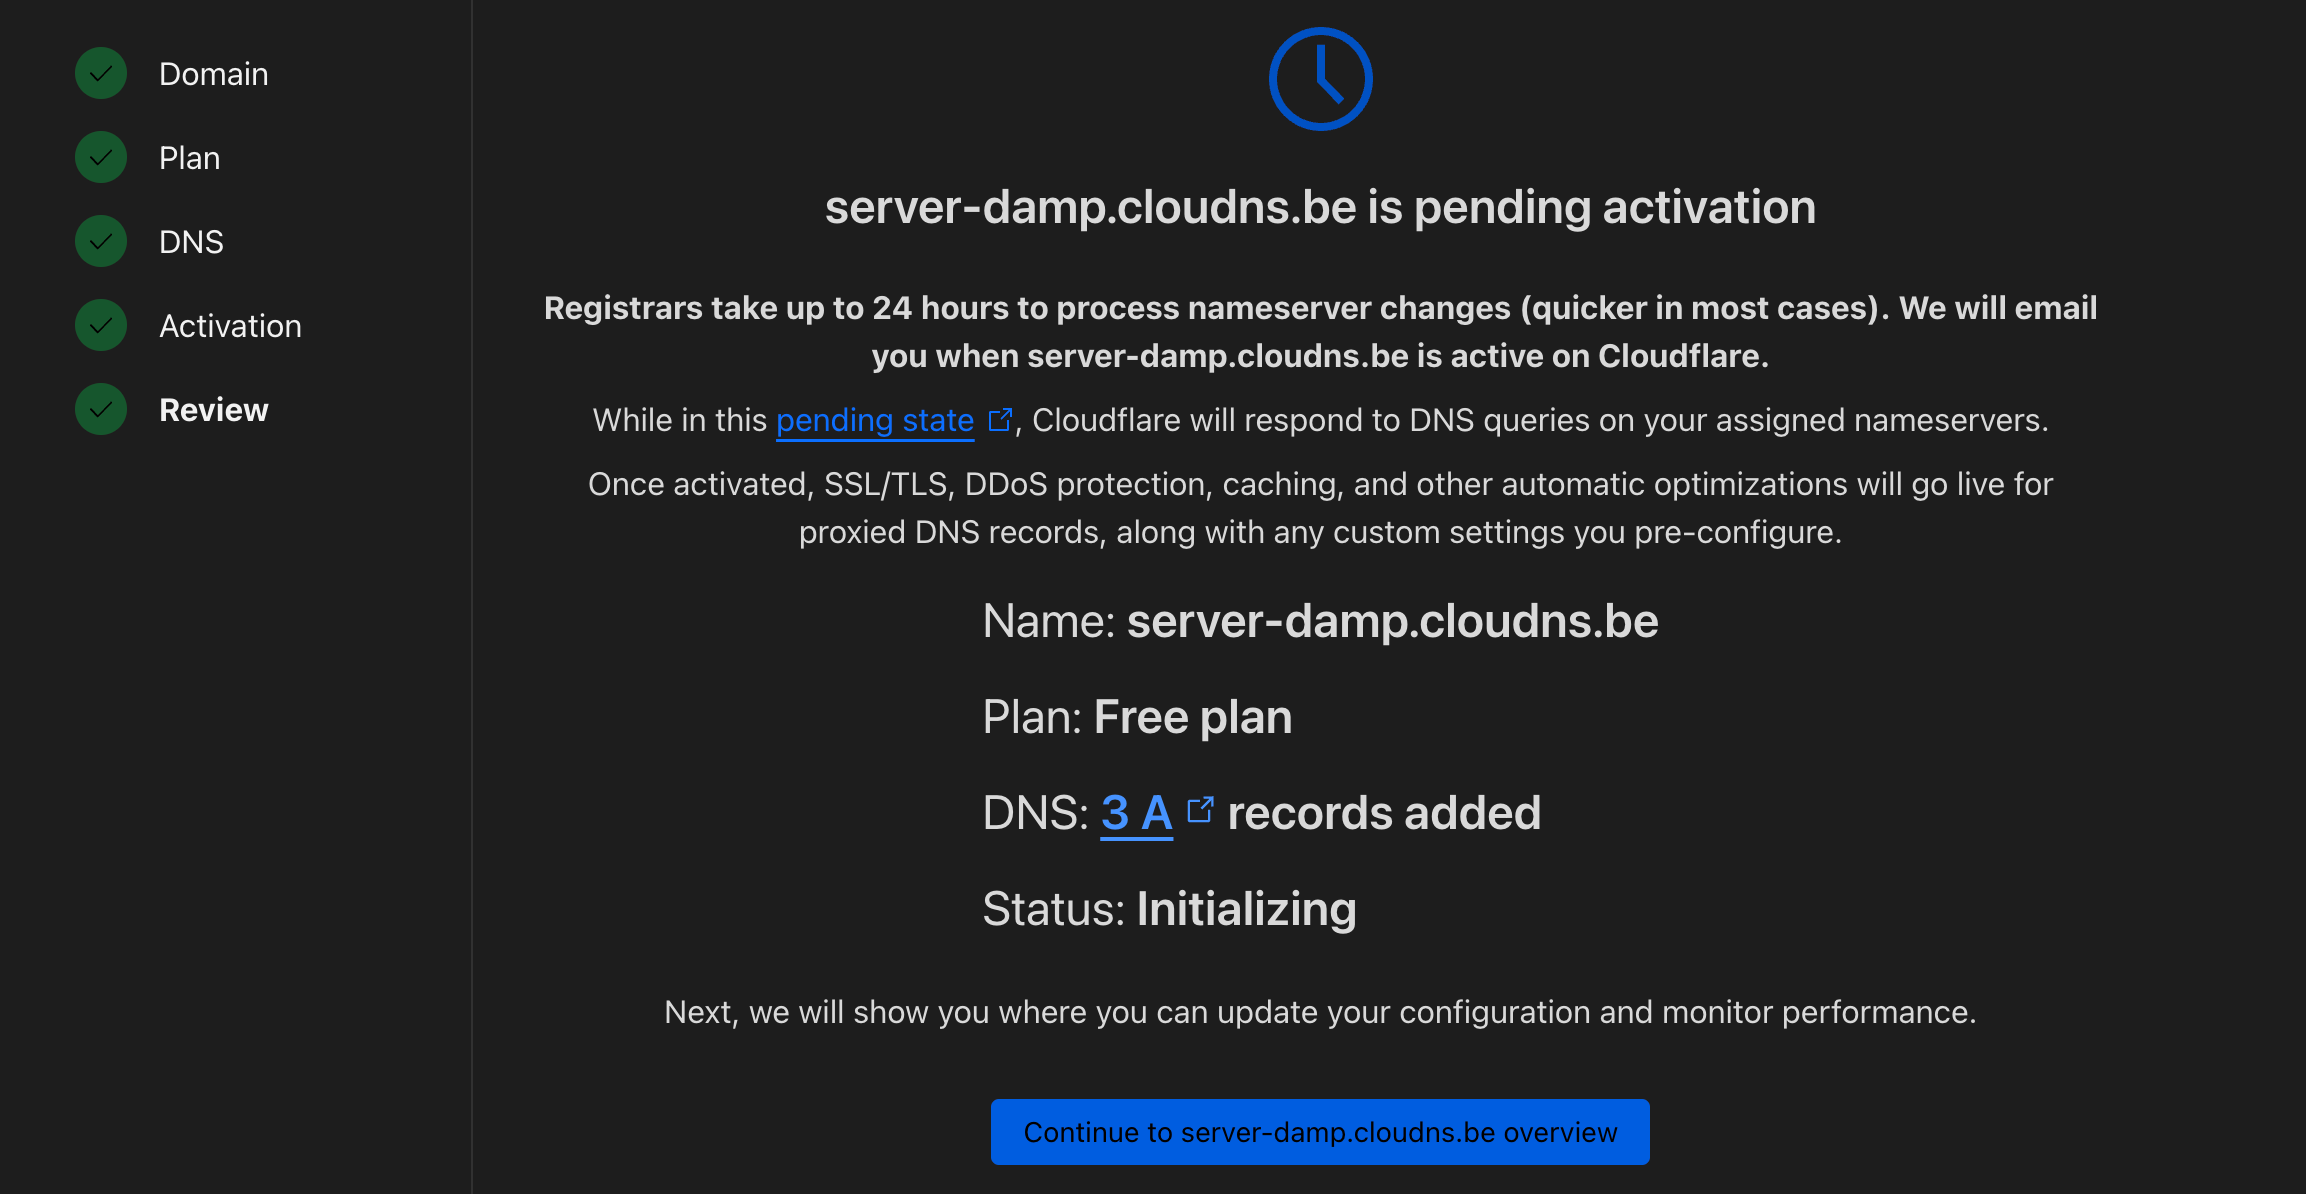
After you added the provided Cloudflare NS to ClouDNS, goto your Cloudflare account and hit Continue. You should see the following message.

Disable Tunnelling
- Delete the tunnel from cloudflare
- Goto host machine run
sudo cloudflared service uninstallto remove its instance