Download Image
- Goto link and download the Raspberry Pi image → download
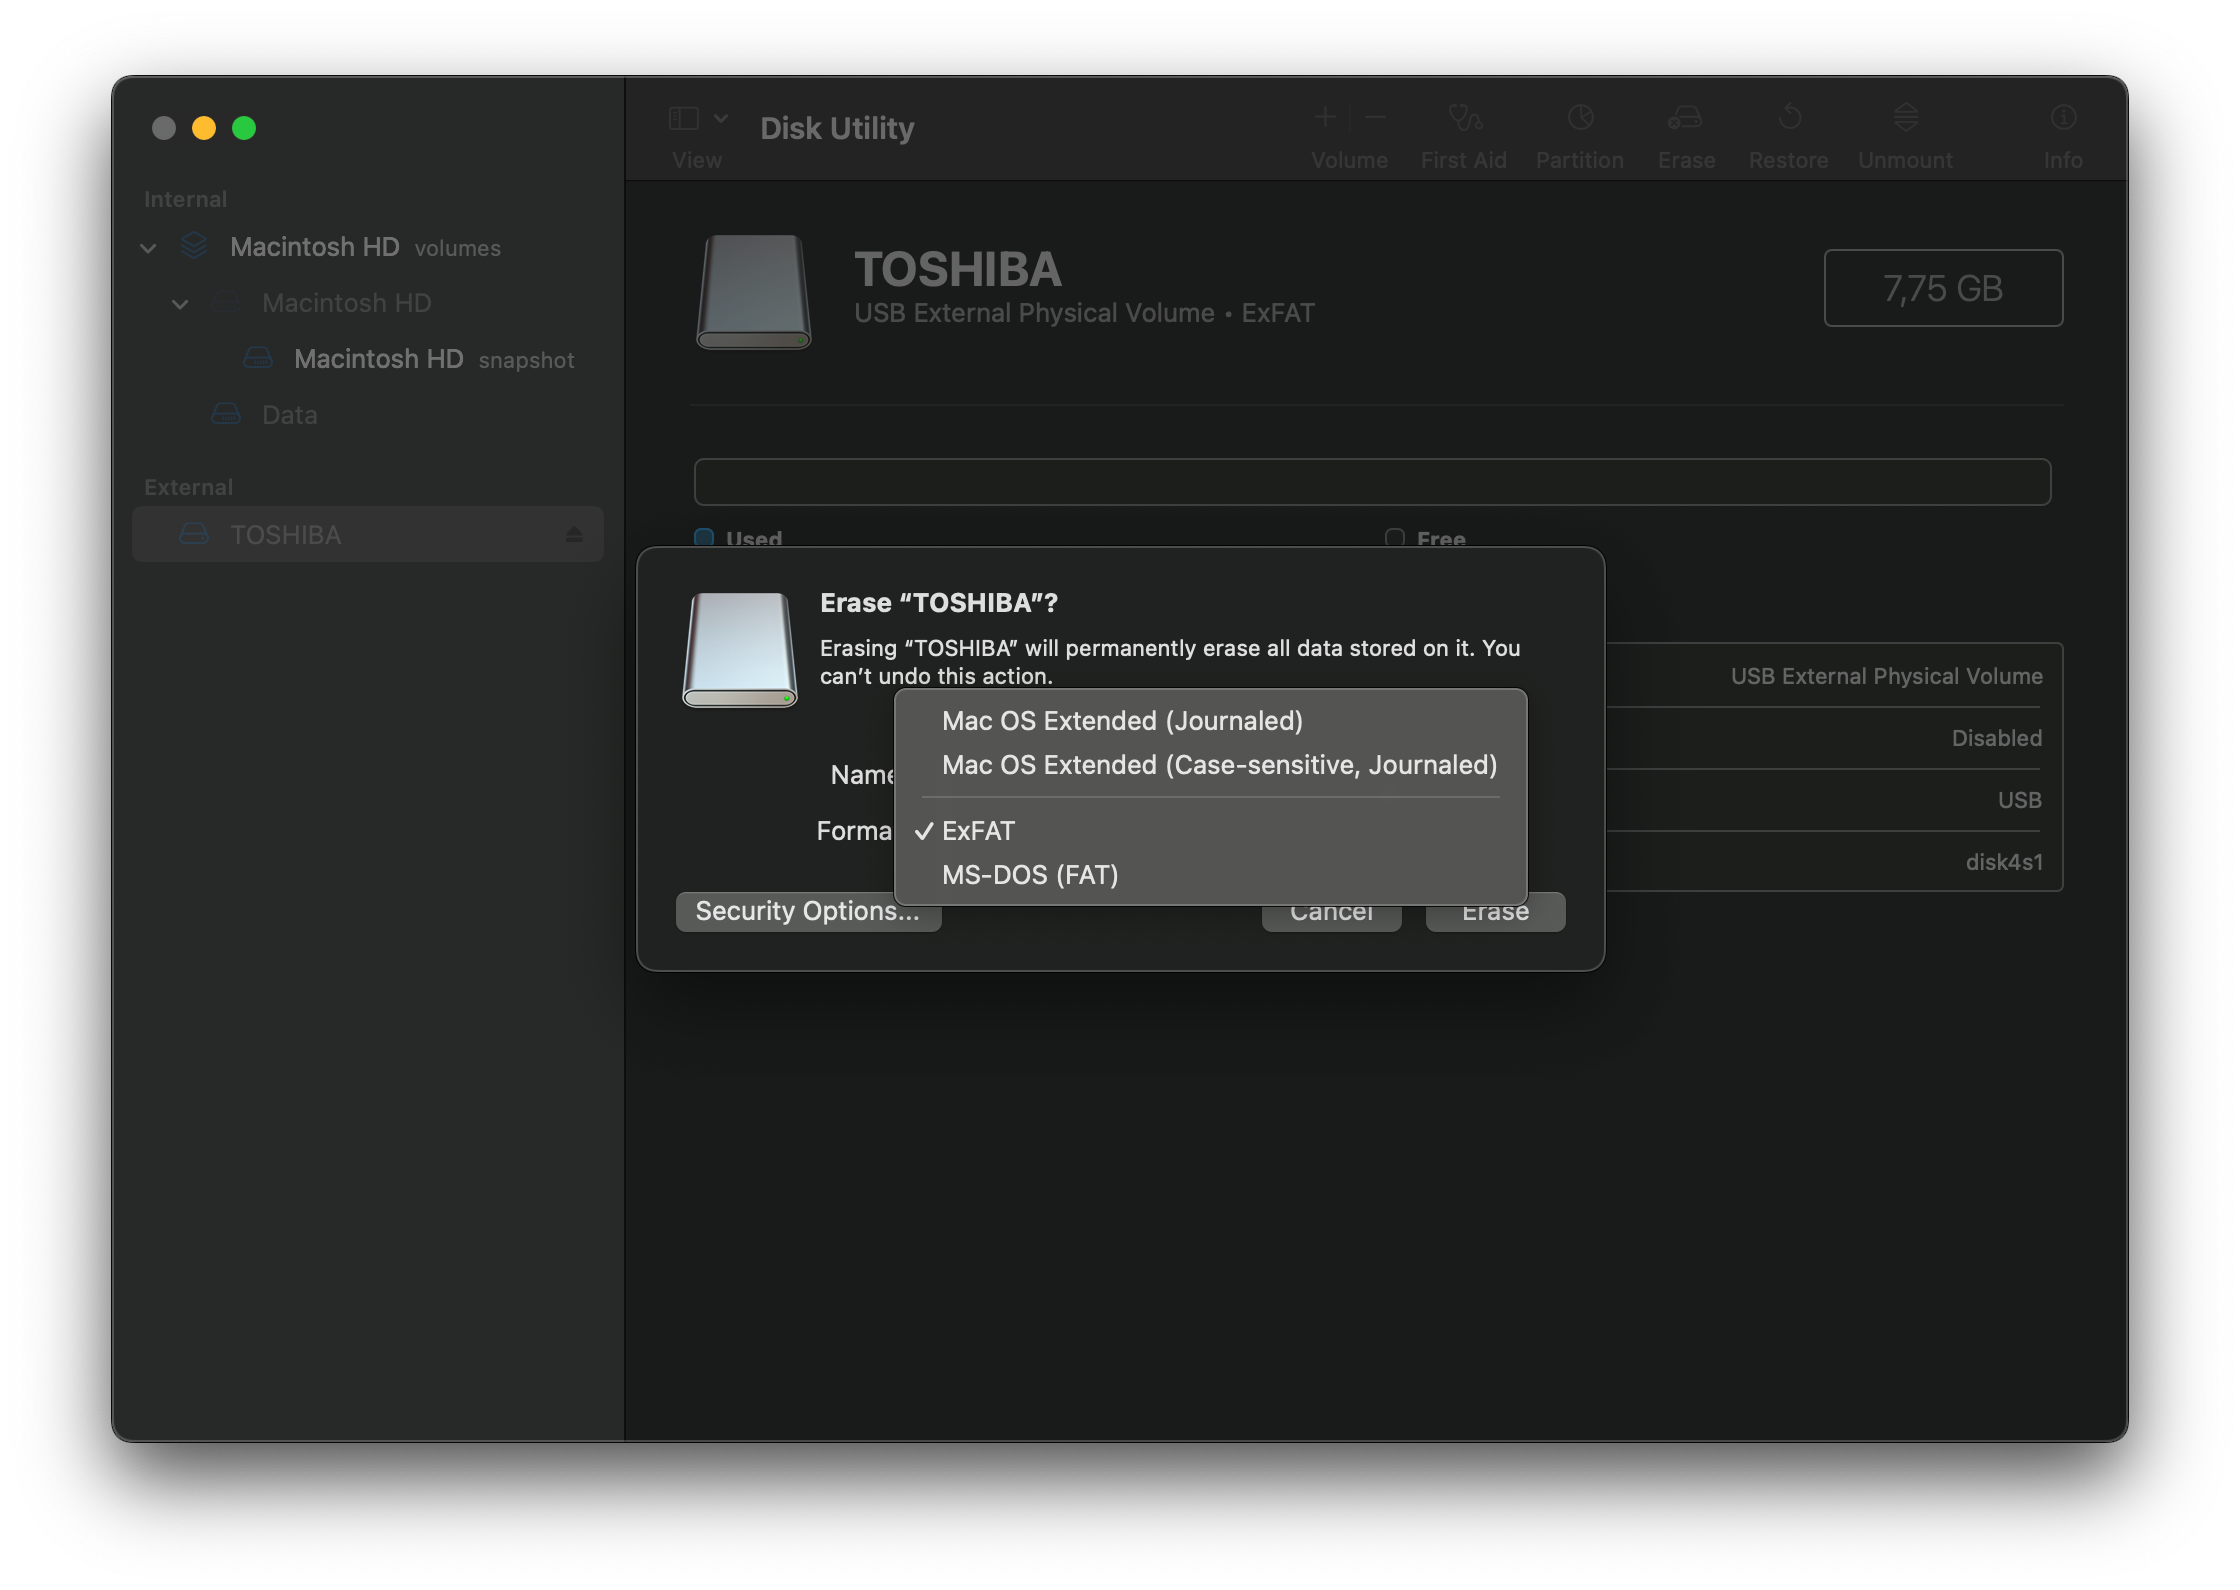
- Format the SD Card in EXFAT format.

- Burn the image to SD card.
Option 1: Single Video Loop
- Prepare the video in mov or mp4 format.
- Copy the video file into a USB disk.
- Plug the USB to RPI.
- Power ON monitor.
- Power ON the RPI and you will see the video playing in loop.
Option 2: Multiple Video Sync Loop
- Burn the image to the SD card.
- Plug it to the computer again.
- Open the
video-sync.conffile in nano editor. - On Mac, open the Terminal App. Run
cd /Volumes/boot sudo nano video-sync.conf- For master device
- You don’t need to update the .conf file.
- Insert the SD card to the n.th RPI.
- You must insert the USB flash drive before powering on.
- For slave devices, do the followings;
- video.player.role=‘master’ to video.player.role=‘slave’
- Save the conf file
Control + O - Insert the SD card to the n.th RPI.
- You must insert the USB flash drive before powering on.
- Power On and wait. 20seconds or more…
To Replace the Playback Videos (USB Flash Drive)
The SD card contains the Raspberry Pi’s customized operating system, and the USB flash drive is where video files are stored. To replace videos:
- Power off the device (never forcibly remove the USB flash drive while it’s running).
- Insert the USB flash drive into your computer and replace the video file.
- Insert the USB flash drive back into the playback device.
- Power on the playback device.
References
Trouble Shoot
Videos are not synced.
- The video must be at least 60 seconds long.
- The file names must be the same on the
masterandslave
For example, if the Master plays a video with the name GK5.mp4, the other two devices should also play a video named GK5.mp4. However, the size of the mp4 files played by these three devices may be different because their content is different.
Resolution/aspect ratio of the video displaying wrong size
- Turn off Raspberry Pi.
- Turn off monitor.
- First turn on the monitor, then boot up the Raspberry Pi.
RPI throws error "Cannot read the video" from USB disk.
Remove USB from the RPI
Connect to Mac.
Open Disk Utility, format the USB disk withEXFAT
Convert the video file to MP4H264format via Handbrake App.
7 inch HDMI LCD (C) WaveShare Not Showing
hdmi_group=2
hdmi_mode=87
hdmi_cvt 1024 600 60 6 0 0 0
hdmi_drive=1
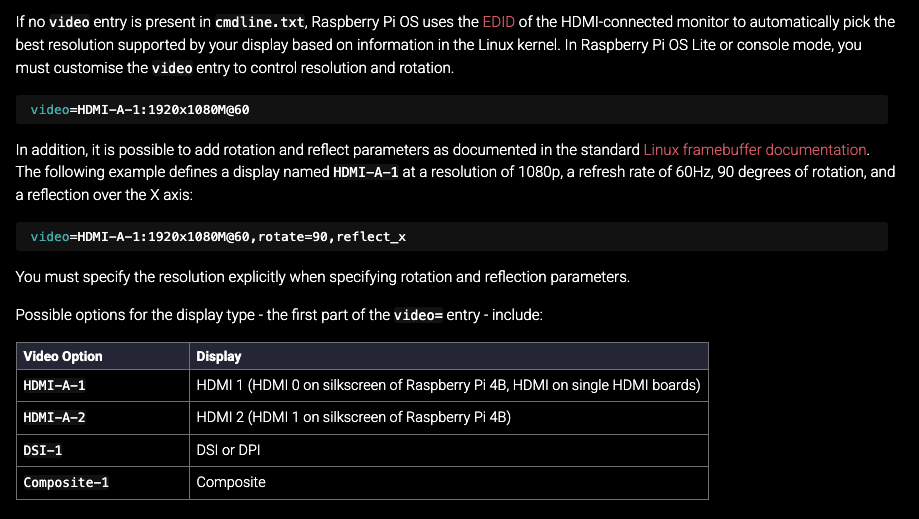
Monitor related issues
