What is augmented reality?
Augmented reality (AR) is a technology that overlays computer-generated images onto the real world, providing an enhanced or altered view of reality. Think of it as blending digital content with your physical surroundings.
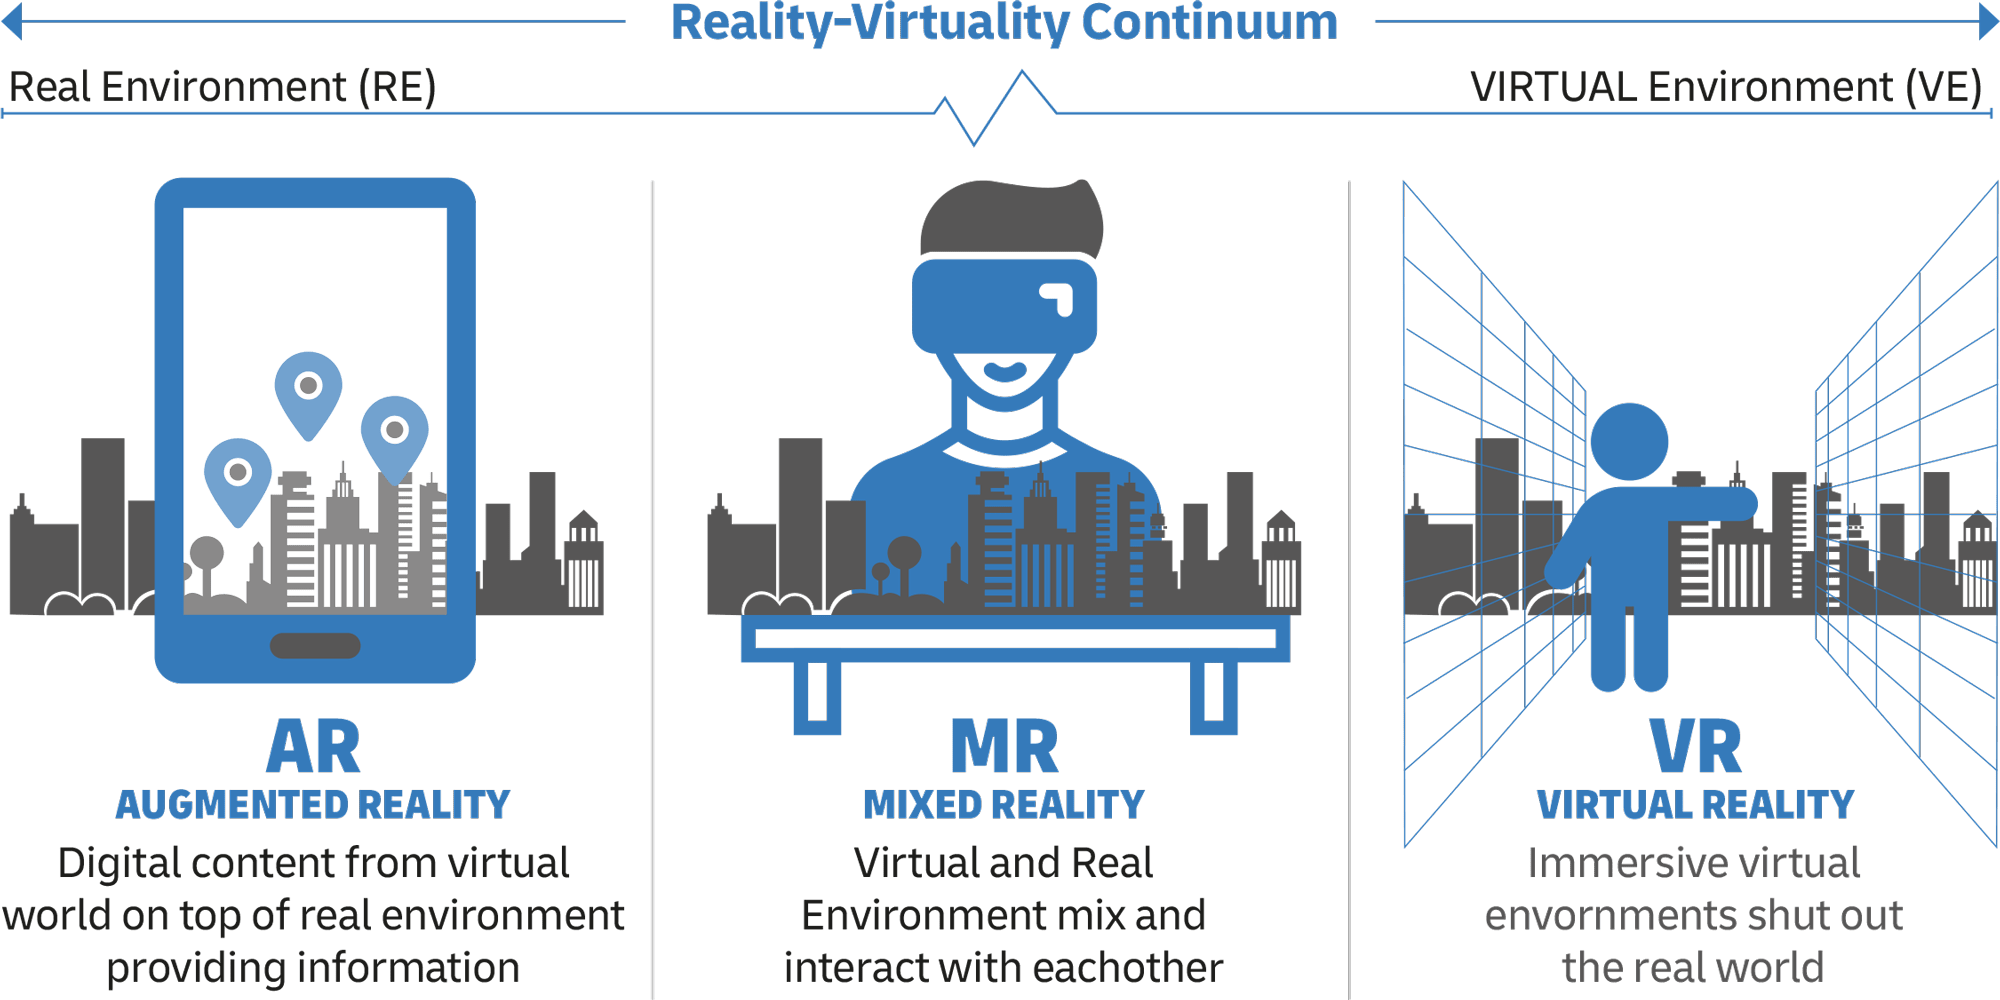
What is The Difference of AR, MR and VR?
Immersion technologies ranging in their interaction with the physical environment and degree of user immersion are augmented reality (AR), virtual reality (VR), and mixed reality (MR).
AR overlays digital content over the actual environment, therefore improving the user’s view of their surroundings. AR enhances the actual surroundings with virtual components, not replaces them. For instance, the mobile game Pokémon GO creates virtual creatures seen via a smartphone camera into real-world environments.
A completely immersive digital environment created by virtual reality (VR) replaces the physical world totally. Usually wearing a headgear, users engage with a computer-generated reality. One such is Oculus Rift, which carries consumers into totally virtual game or simulation worlds.
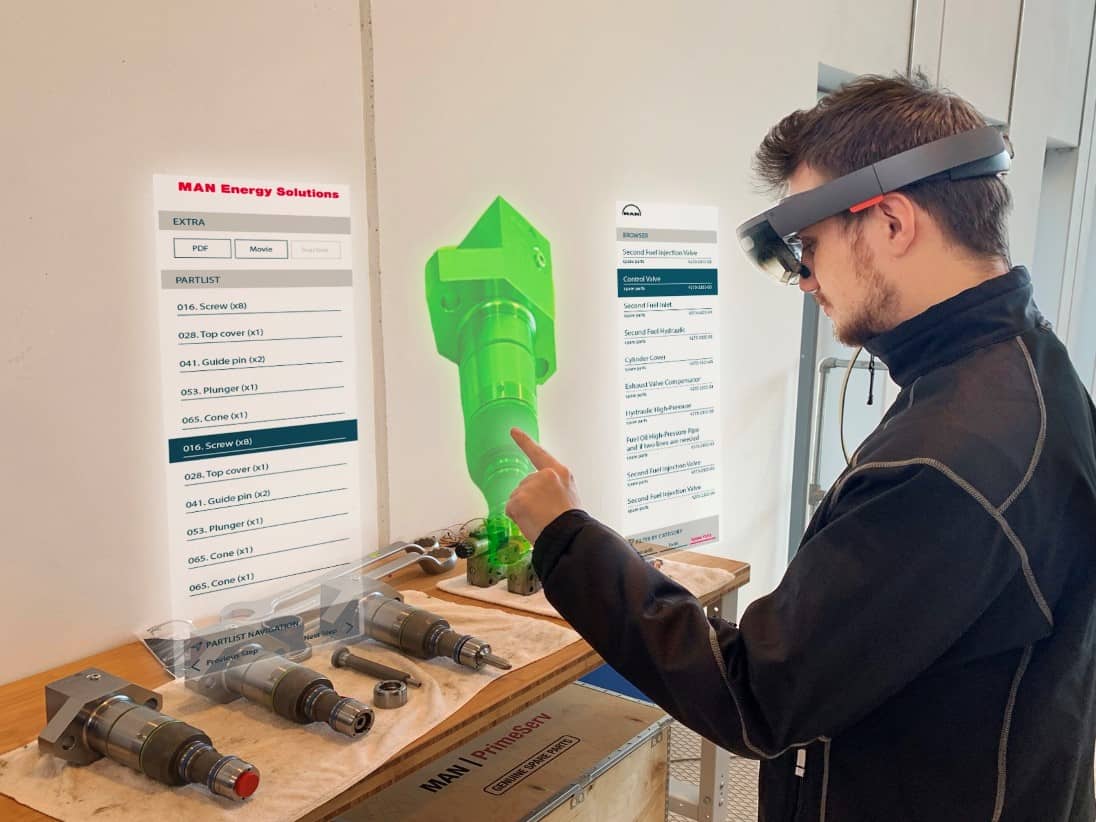
Mixed reality (MR) lets real and virtual components interact in real-time by merging the physical and digital spaces. MR lets users move both real-world and virtual items by combining immersive VR with augmented reality. With Microsoft’s HoloLens, for example, users may position and interact with holograms in their actual environment.
AR improves reality; VR substitutes it; MR combines the two to allow dynamic interaction between real and virtual components.
Designers can combine digital information with the physical world to create immersive experiences using AR. Within the creative coding domain, AR extends beyond basic applications like QR codes into more complex interactive environments.
Use Cases of AR Technology
-
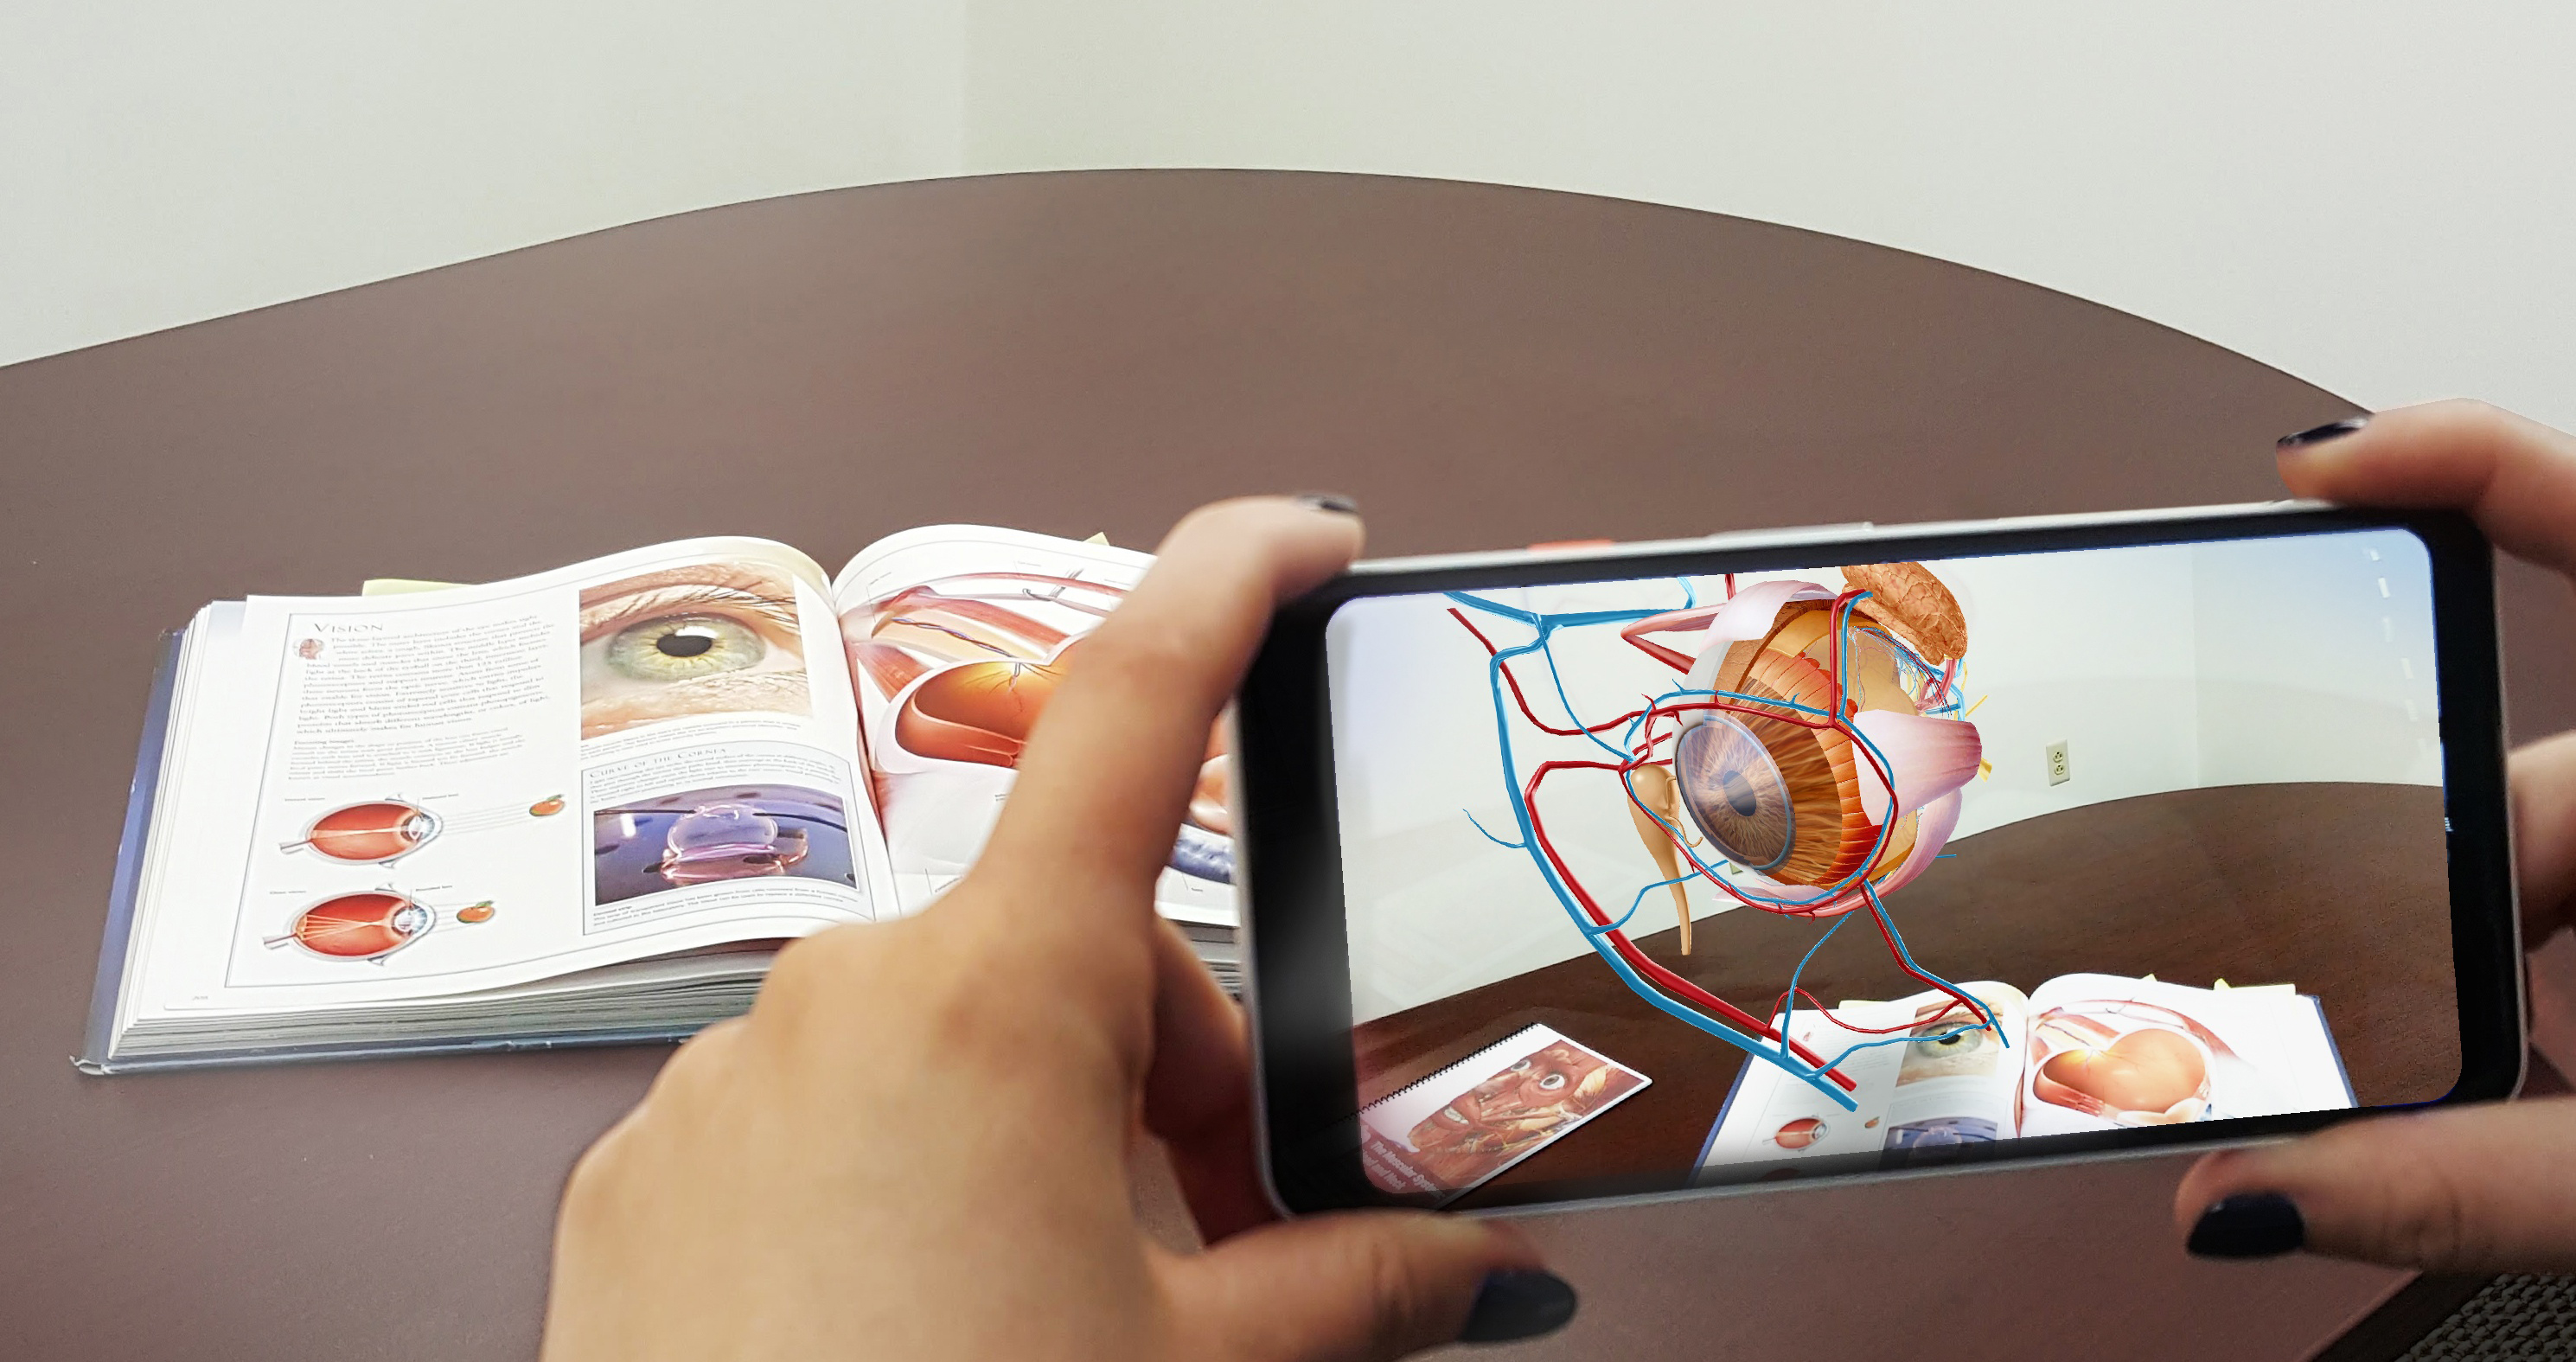
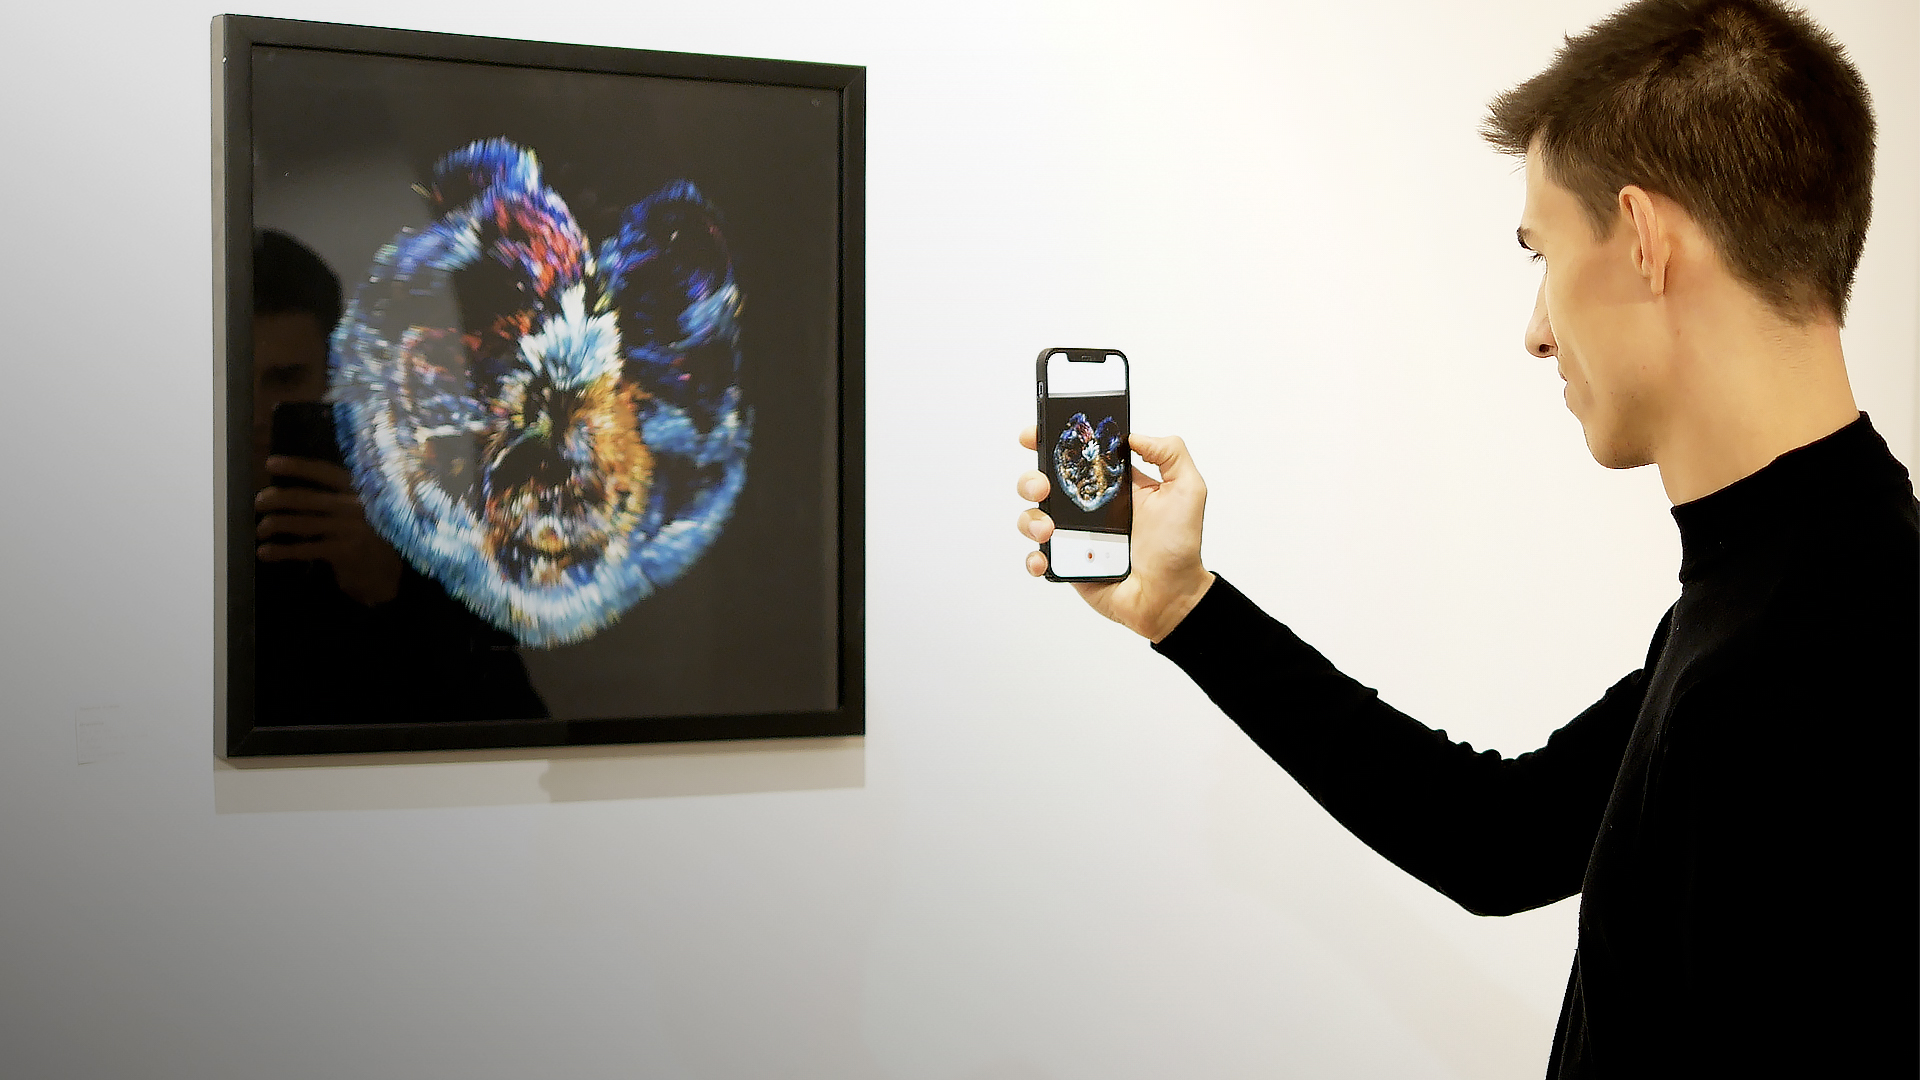
Interactive Projections: For instance, a designer can enhance the customer experience using AR technologies. Imagine a brand identity representing a static images of the customer’s company. When user points the smart phone camera onto the poster, the viewer can display animated version of the design, or give extra information about the company that can not be included in the identity.
-
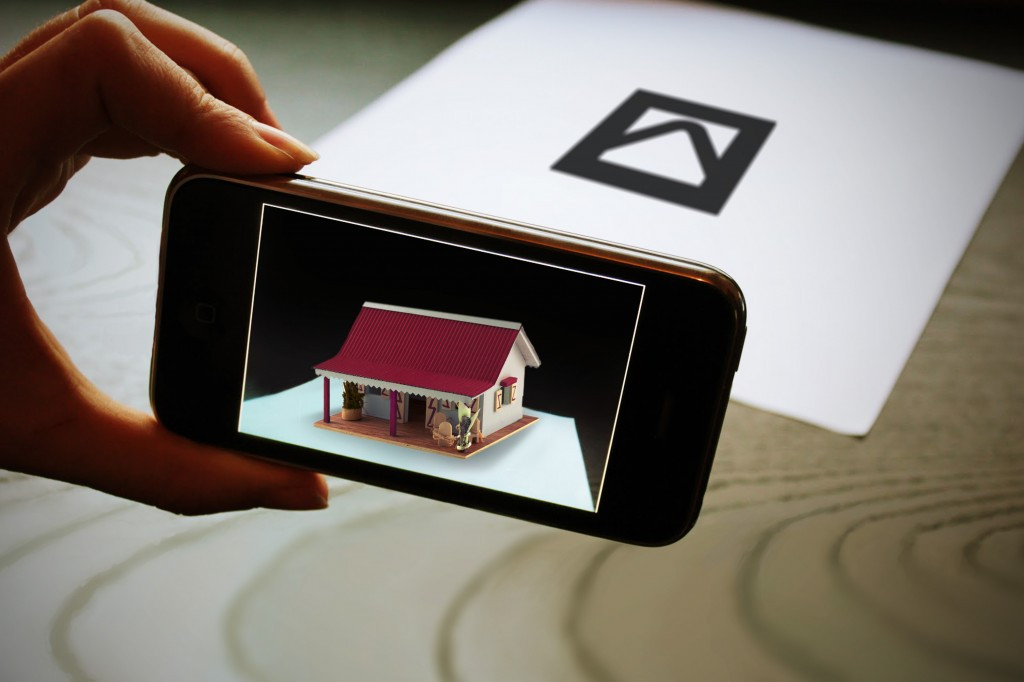
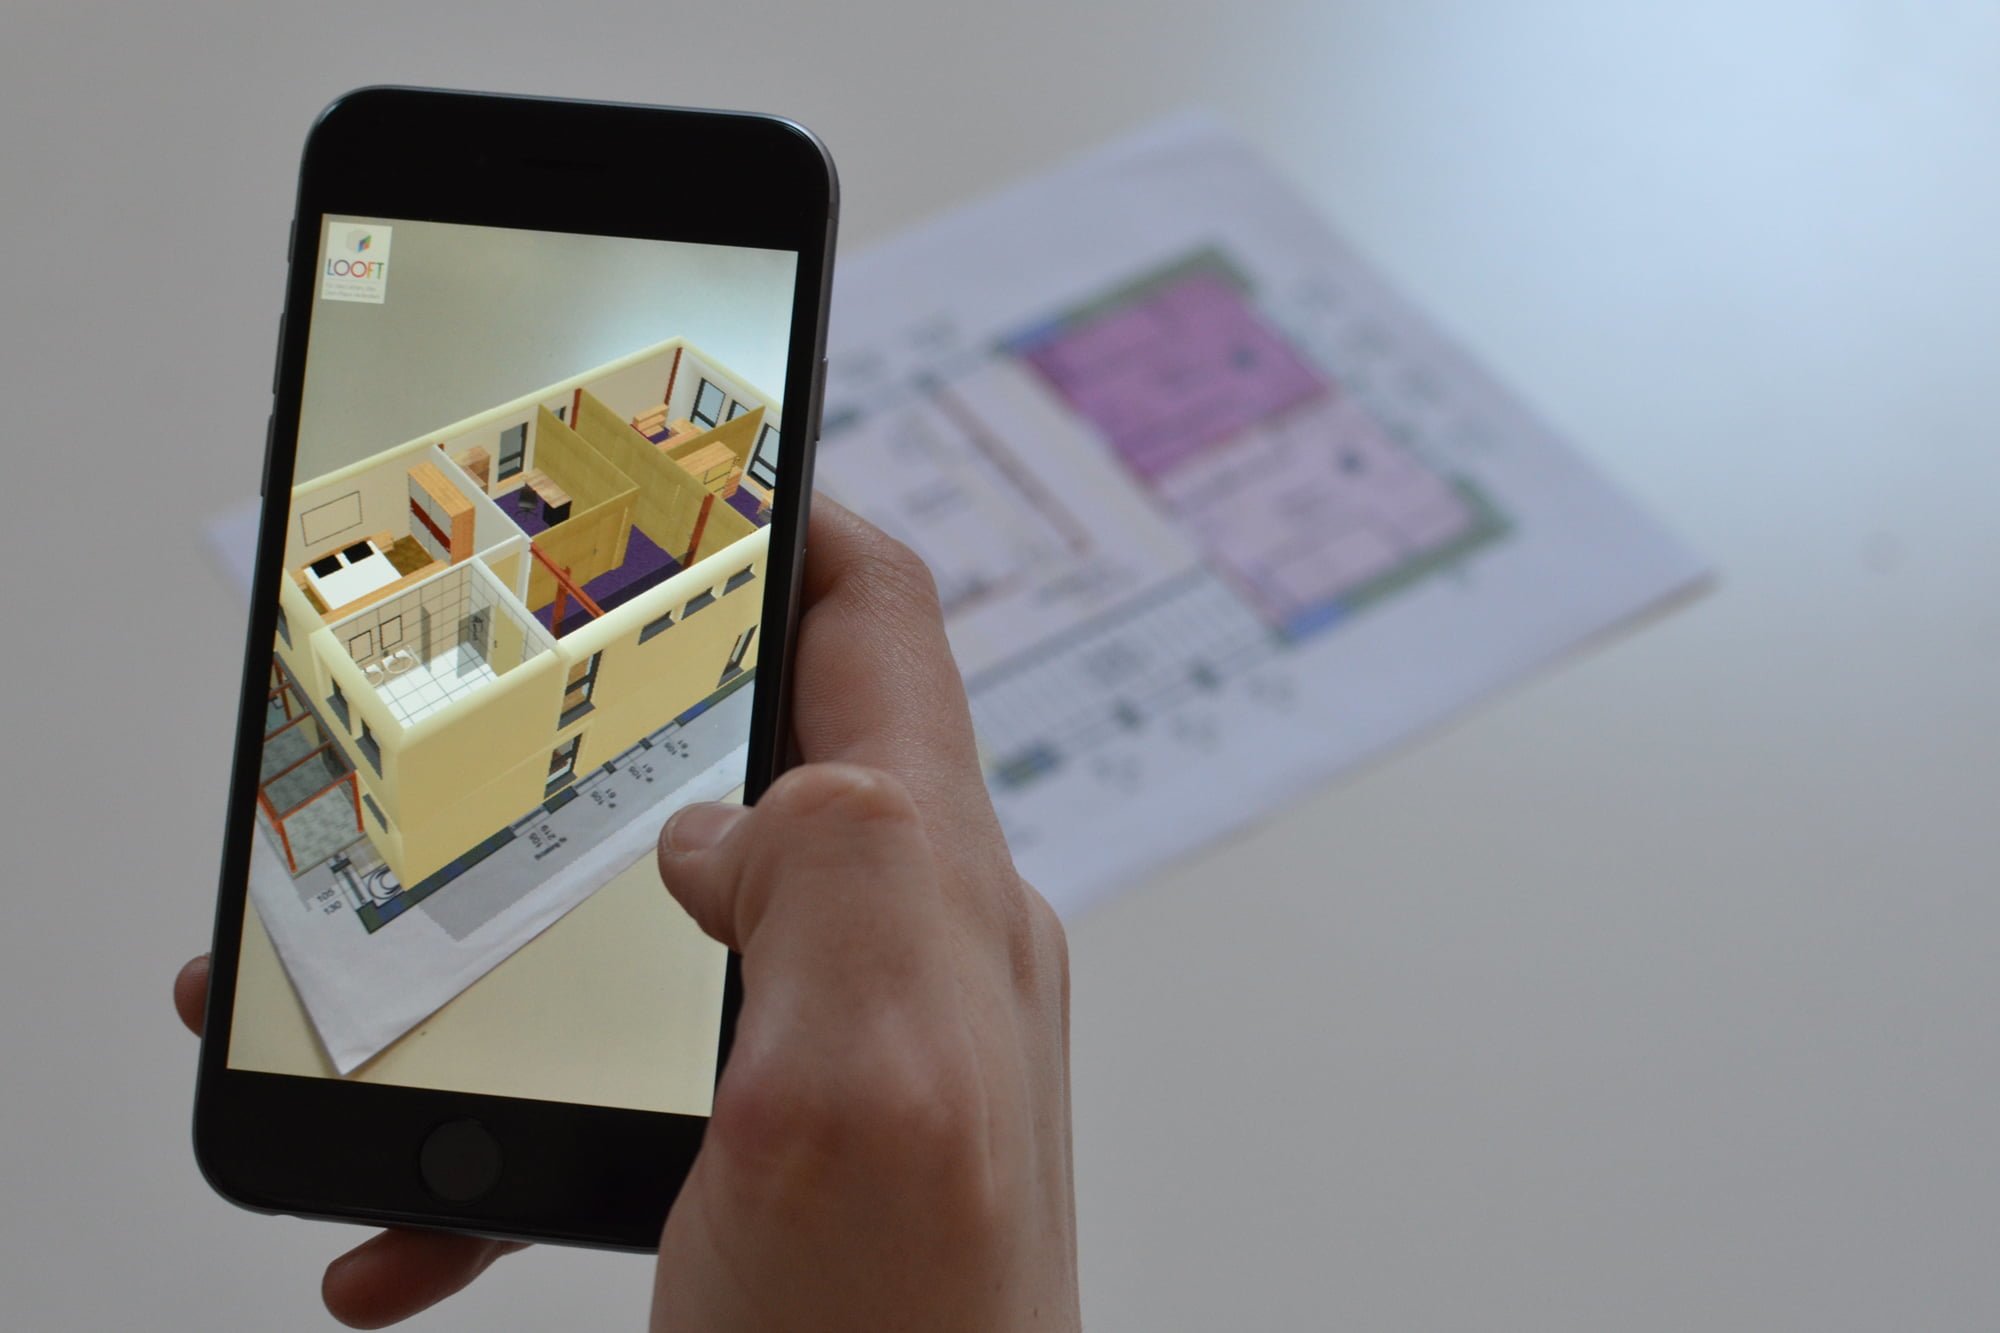
Architecture: People can view the rendered 3D version of a building in planning phase. Or they can customize the inner design of a house before buying it.
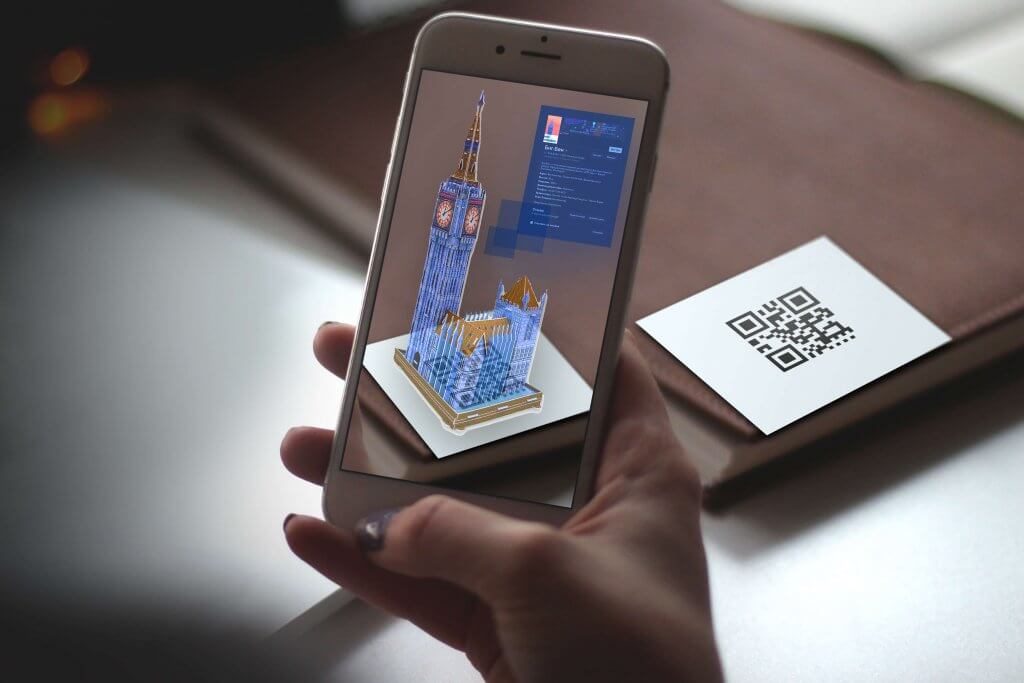
-
Interactive Games: Imagine a traditional treasure hunt game. A set of markers can be distributed in closed or opened space, and players try to find the quests in correct order via scanning the markers. Or in a card game, the characters can be displayed in 3D and interact with the user.
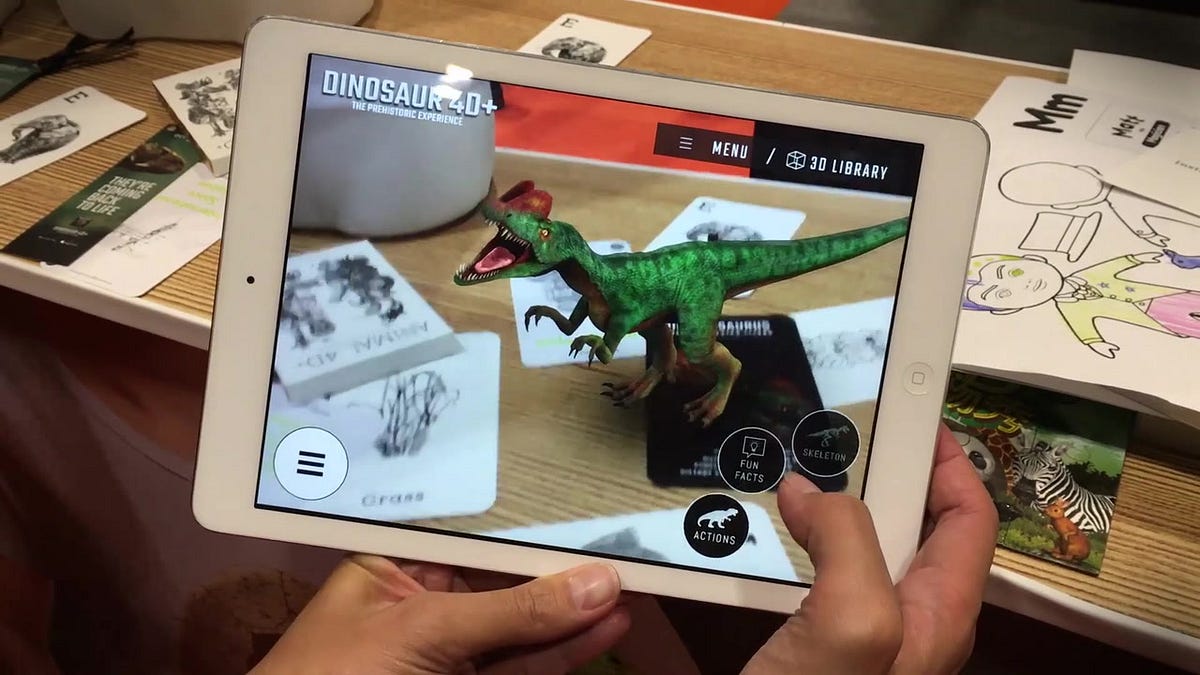
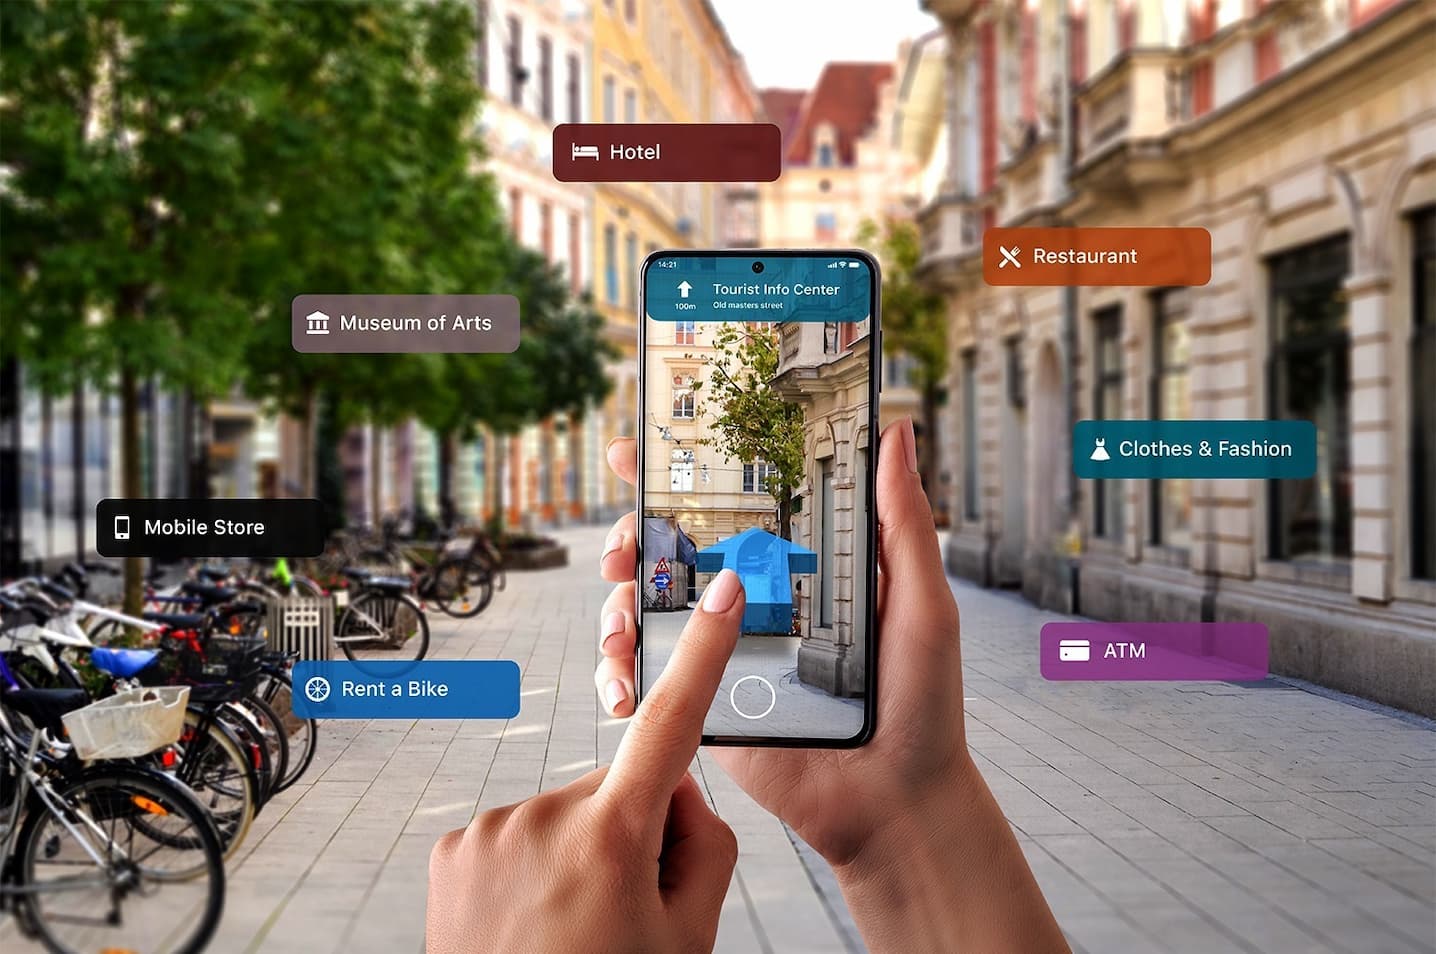
Designers can utilize AR in creative coding for several purposes:
-
Prototyping: They test designs in virtual environments without physical models, allowing them to visualize and refine concepts efficiently.
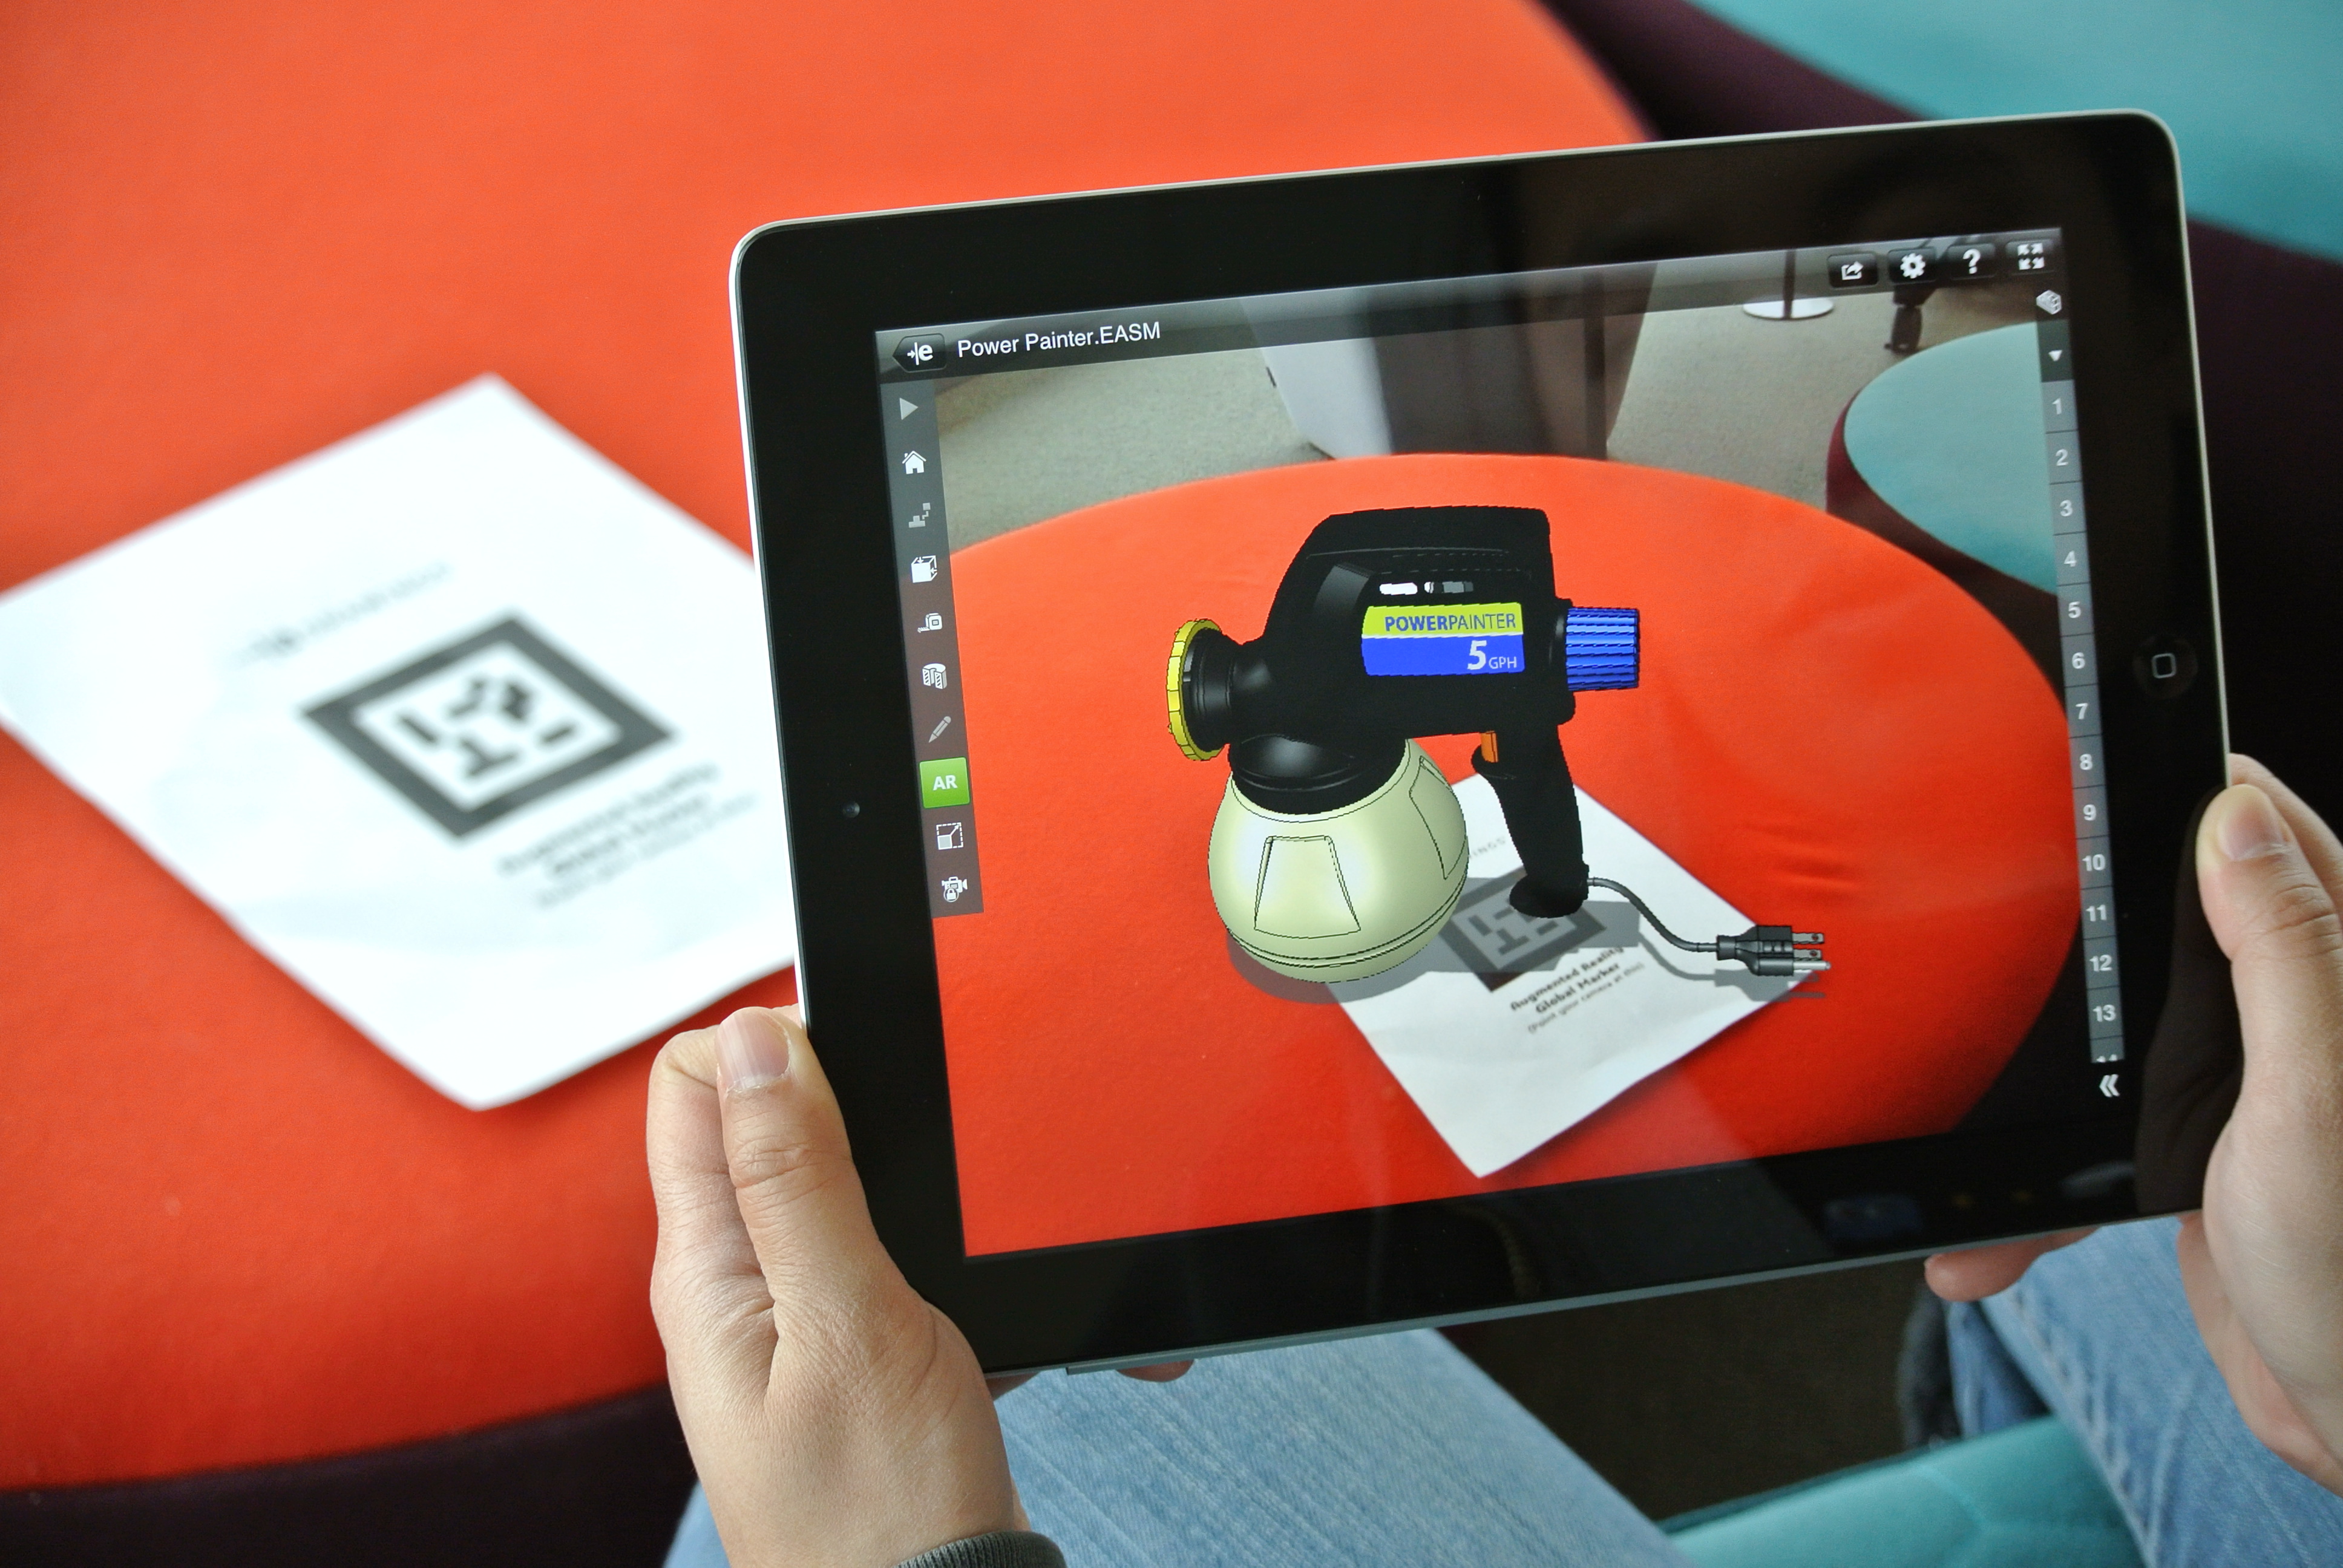
-
Immersive Experiences: Designers create experiences that respond to the user’s presence within their environment. For example, a virtual art gallery where each exhibit reacts to movement, providing an interactive and engaging experience.
-
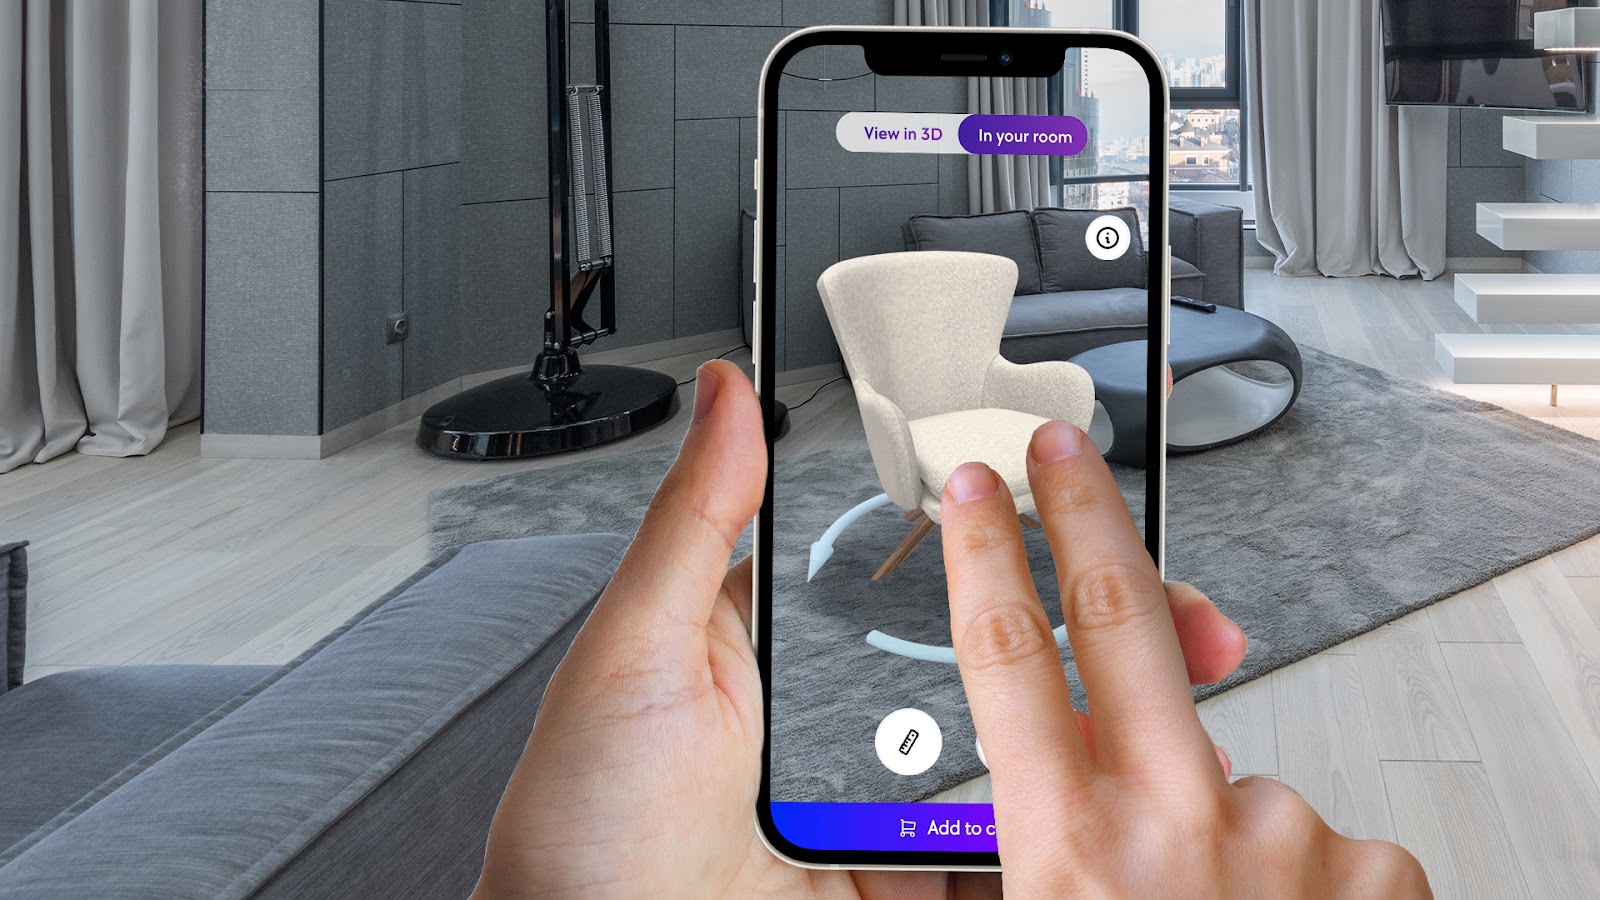
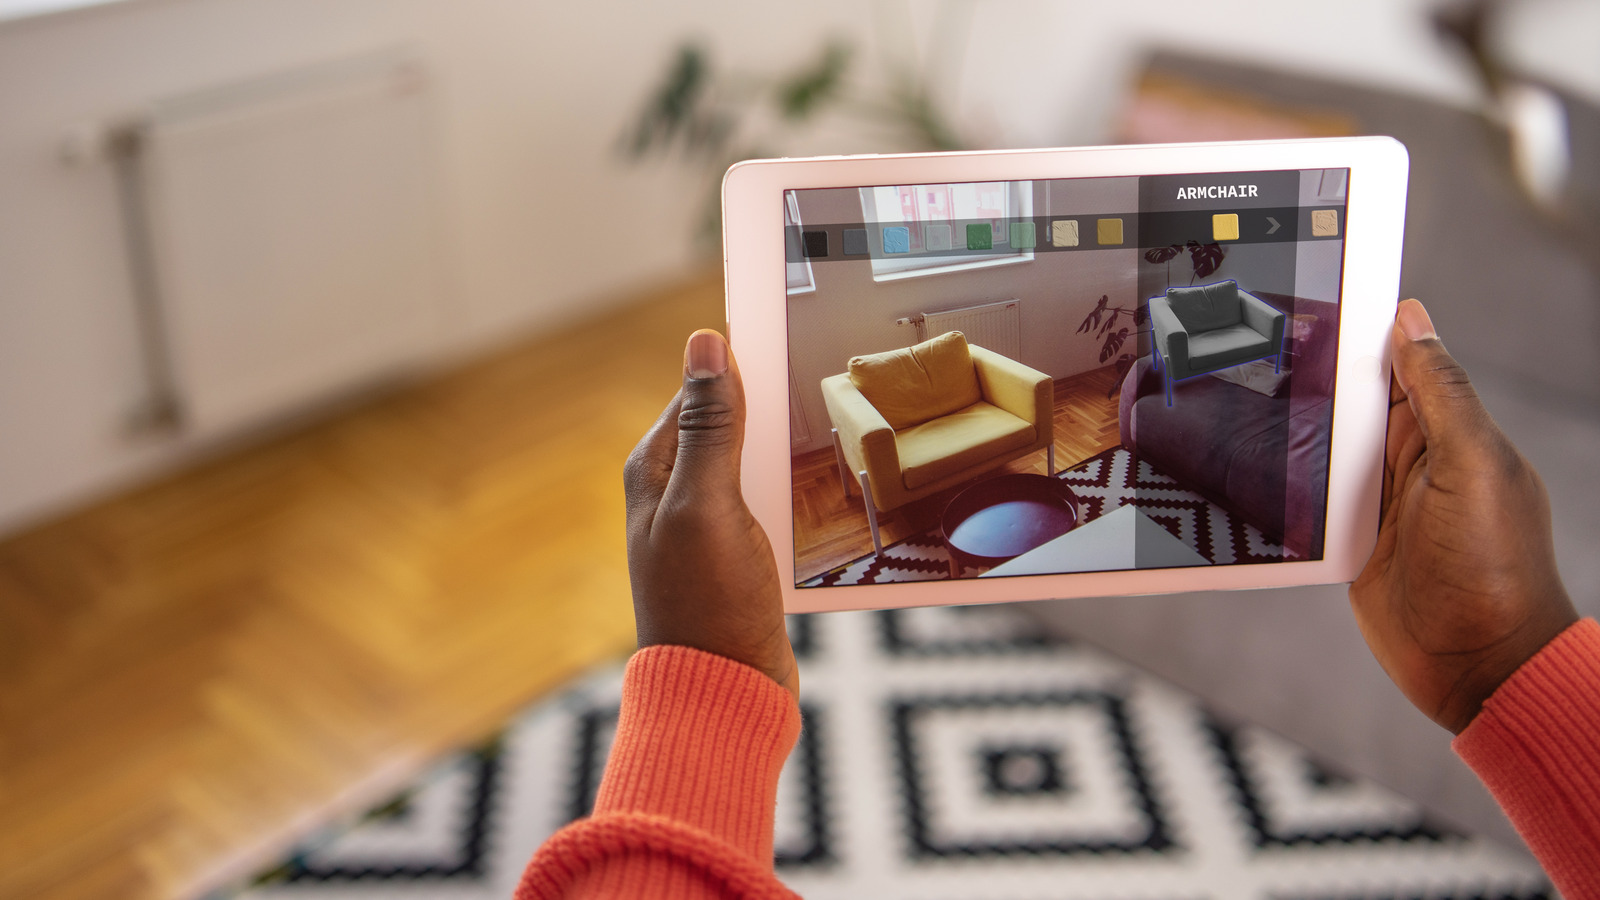
Interior Architectural Design: Designer or clients can determine required colors and object before buying it. By doing that customers have chance to experience how does the item look like in their space.
p5.SimpleAR Library Installation
p5.simpleAR is a simple JavaScript supplement (mini-library) file to easily convert existing sketches into AR for PCs and smart devices. It includes 64 different marker patterns. Watch the video.
1. Choose a Fiducial Marker and Print
Initially, a fiducial marker must be printed for use in an augmented reality application. A selection of suitable markers is available via a provided link. The chosen marker should be printed on A4-sized paper, with scaling considerations to ensure it remains within the focal range of the webcam. This marker will be programmatically associated with a p5JS sketch. Upon camera detection of the marker, specific digital content will be rendered to the viewer. The numerical identifier (ID) of the selected marker must be recorded, as this ID will be employed within the p5JS sketch to trigger the display of the designated content when the application recognizes the marker. For example, if the selected marker’s image filename is “48wFrame.png,” the corresponding ID is “48.” The marker should then be printed, maintaining the white borders, at a size of 5 x 5 cm.
🔗 Link to fiducial markers
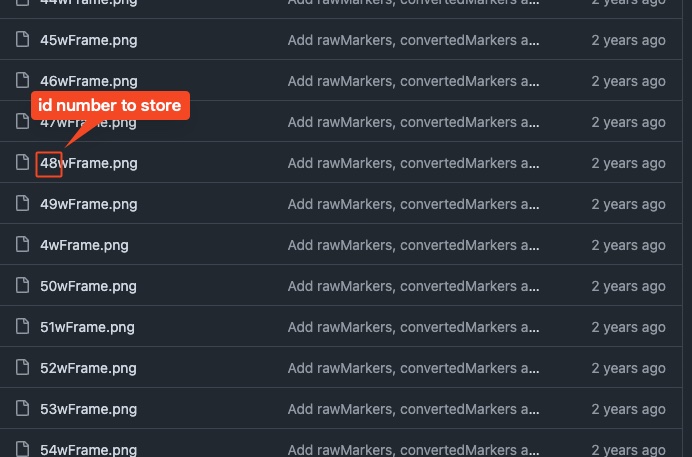
Click on the png file, and download the image. Fiducial markers are just a simple black and white graphics.

2. Include p5.SimpleAR Library
First of all, we need the p5.SimpleAR library and import in to our project. If you are using p5JS official editor, open the index.html file from the explorer menu as show in the image below. Goto and check P5JS - How to Add Libraries post or click below callout buttons. It presents how to import libraries for both P5JS and OpenProcessing editors.
How to import libraries on P5JS Editor?
How to import libraries on OpenProcessing Editor?
For your personal projects, copy the following library link:
https://tetunori.github.io/p5.simpleAR/dist/latest/p5SimpleAR.js and paste in <script> element. Import the library after the p5.js library. The overall index.html should look like the following:
<!DOCTYPE html>
<html lang="en">
  <head>
    <script src="https://cdnjs.cloudflare.com/ajax/libs/p5.js/1.11.1/p5.js"></script>
    <script src="https://cdnjs.cloudflare.com/ajax/libs/p5.js/1.11.1/addons/p5.sound.min.js"></script>
    <!-- Import the p5.SimpleAR library after p5.js and p5.sound.min.js imports above -->
    <script src="https://tetunori.github.io/p5.simpleAR/dist/latest/p5SimpleAR.js"></script>
    <link rel="stylesheet" type="text/css" href="style.css">
    <meta charset="utf-8" />
  </head>
  <body>
    <main>
    </main>
    <script src="sketch.js"></script>
  </body>
</html>
3. Code the AR Content
Open the sketch.js file and change createCanvas → createARCanvas in your setup() function as follows;
function setup() {
	createARCanvas(240, 240, P2D, {scale: 2, markerId: 6});
	// instead of markerId: 6, type your choosen marker's id number
}
Write some code that displays and image or draws an animated content in draw() function. For example I write an animated circle rotates around another circle as follows;
function setup() {
	createARCanvas(240, 240, P2D, {scale: 2, markerId: 6});
	// instead of markerId: 6, type your choosen marker's id number
}

function draw() {
	background(220);
	fill(0);
	var xx = cos(frameCount * 0.02) * 83 + width / 2;
	var yy = sin(frameCount * 0.02) * 83 + height / 2;
	var rad = 33;
	circle(xx, yy, rad);
}
4. Point Your Cam to The Fiducial Marker
Now run the sketch, your computer may ask for permission to use your computer’s webcam. You must allow the browser, otherwise the camera cannot be initialized. Show the marker to the camera, and you will see your p5JS sketch as if it was generated on the marker.
Multiple Markers
If you want to use multiple markers, it is required to create multiple layers in your sketch code. We can use createARGraphics() method to create multiple AR layers. Suppose that we want to use markers between 20-26. The following code assigns markerId from 20-26, except the markerId:26, creates six independent layer groups.
const gfxs = []; // The Array will contain the individual 6 layers
const W = 240; // width of the canvas

const cols = ['#01295f', '#437f97', '#849324', '#ffb30f', '#fd151b', '#ffb30f'];

function setup() {
  for (let i = 20; i < 26; i++) {
	// create the layer gfx
    const gfx = createARGraphics(W, W, P2D, { scale: 1, markerId: i });
	gfx.noStroke(); // disable stroke for each layer
    gfxs.push(gfx); // insert each layer into the gfx array
  }
}

function draw() {
	// create a loop that processes each individual layer inside the gfxs array
  gfxs.forEach((gfx, index) => {
    gfx.clear(); // Clear the layer first
    gfx.fill(cols[index]); // set fill color for each layer from the cols array
    gfx.circle(W / 2, W / 2, W); // Draw the circle
  });
}
reference code uses markerIds from 0 to 6, and draws animation content on each marker.
Final Remarks
You can also navigate to your sketch link using your phones browser and display the content with on your phone. Actually, anyone with the link and the marker can view the content using their own devices. Here is link to running code.
As you know, sky is the limit when we talk about creative coding. The following company presents set of methods on how playing with fiducial marker can push the limits of marker-based AR applications in real-life cases.
You can also publish the project on internet using GitHub Pages. Follow the instruction on Github - Free Hosting for Online Apps article to learn how to do that.
Augmented Reality with ML5 Library
Simple, yet powerful method to engage viewers with AR technologies.